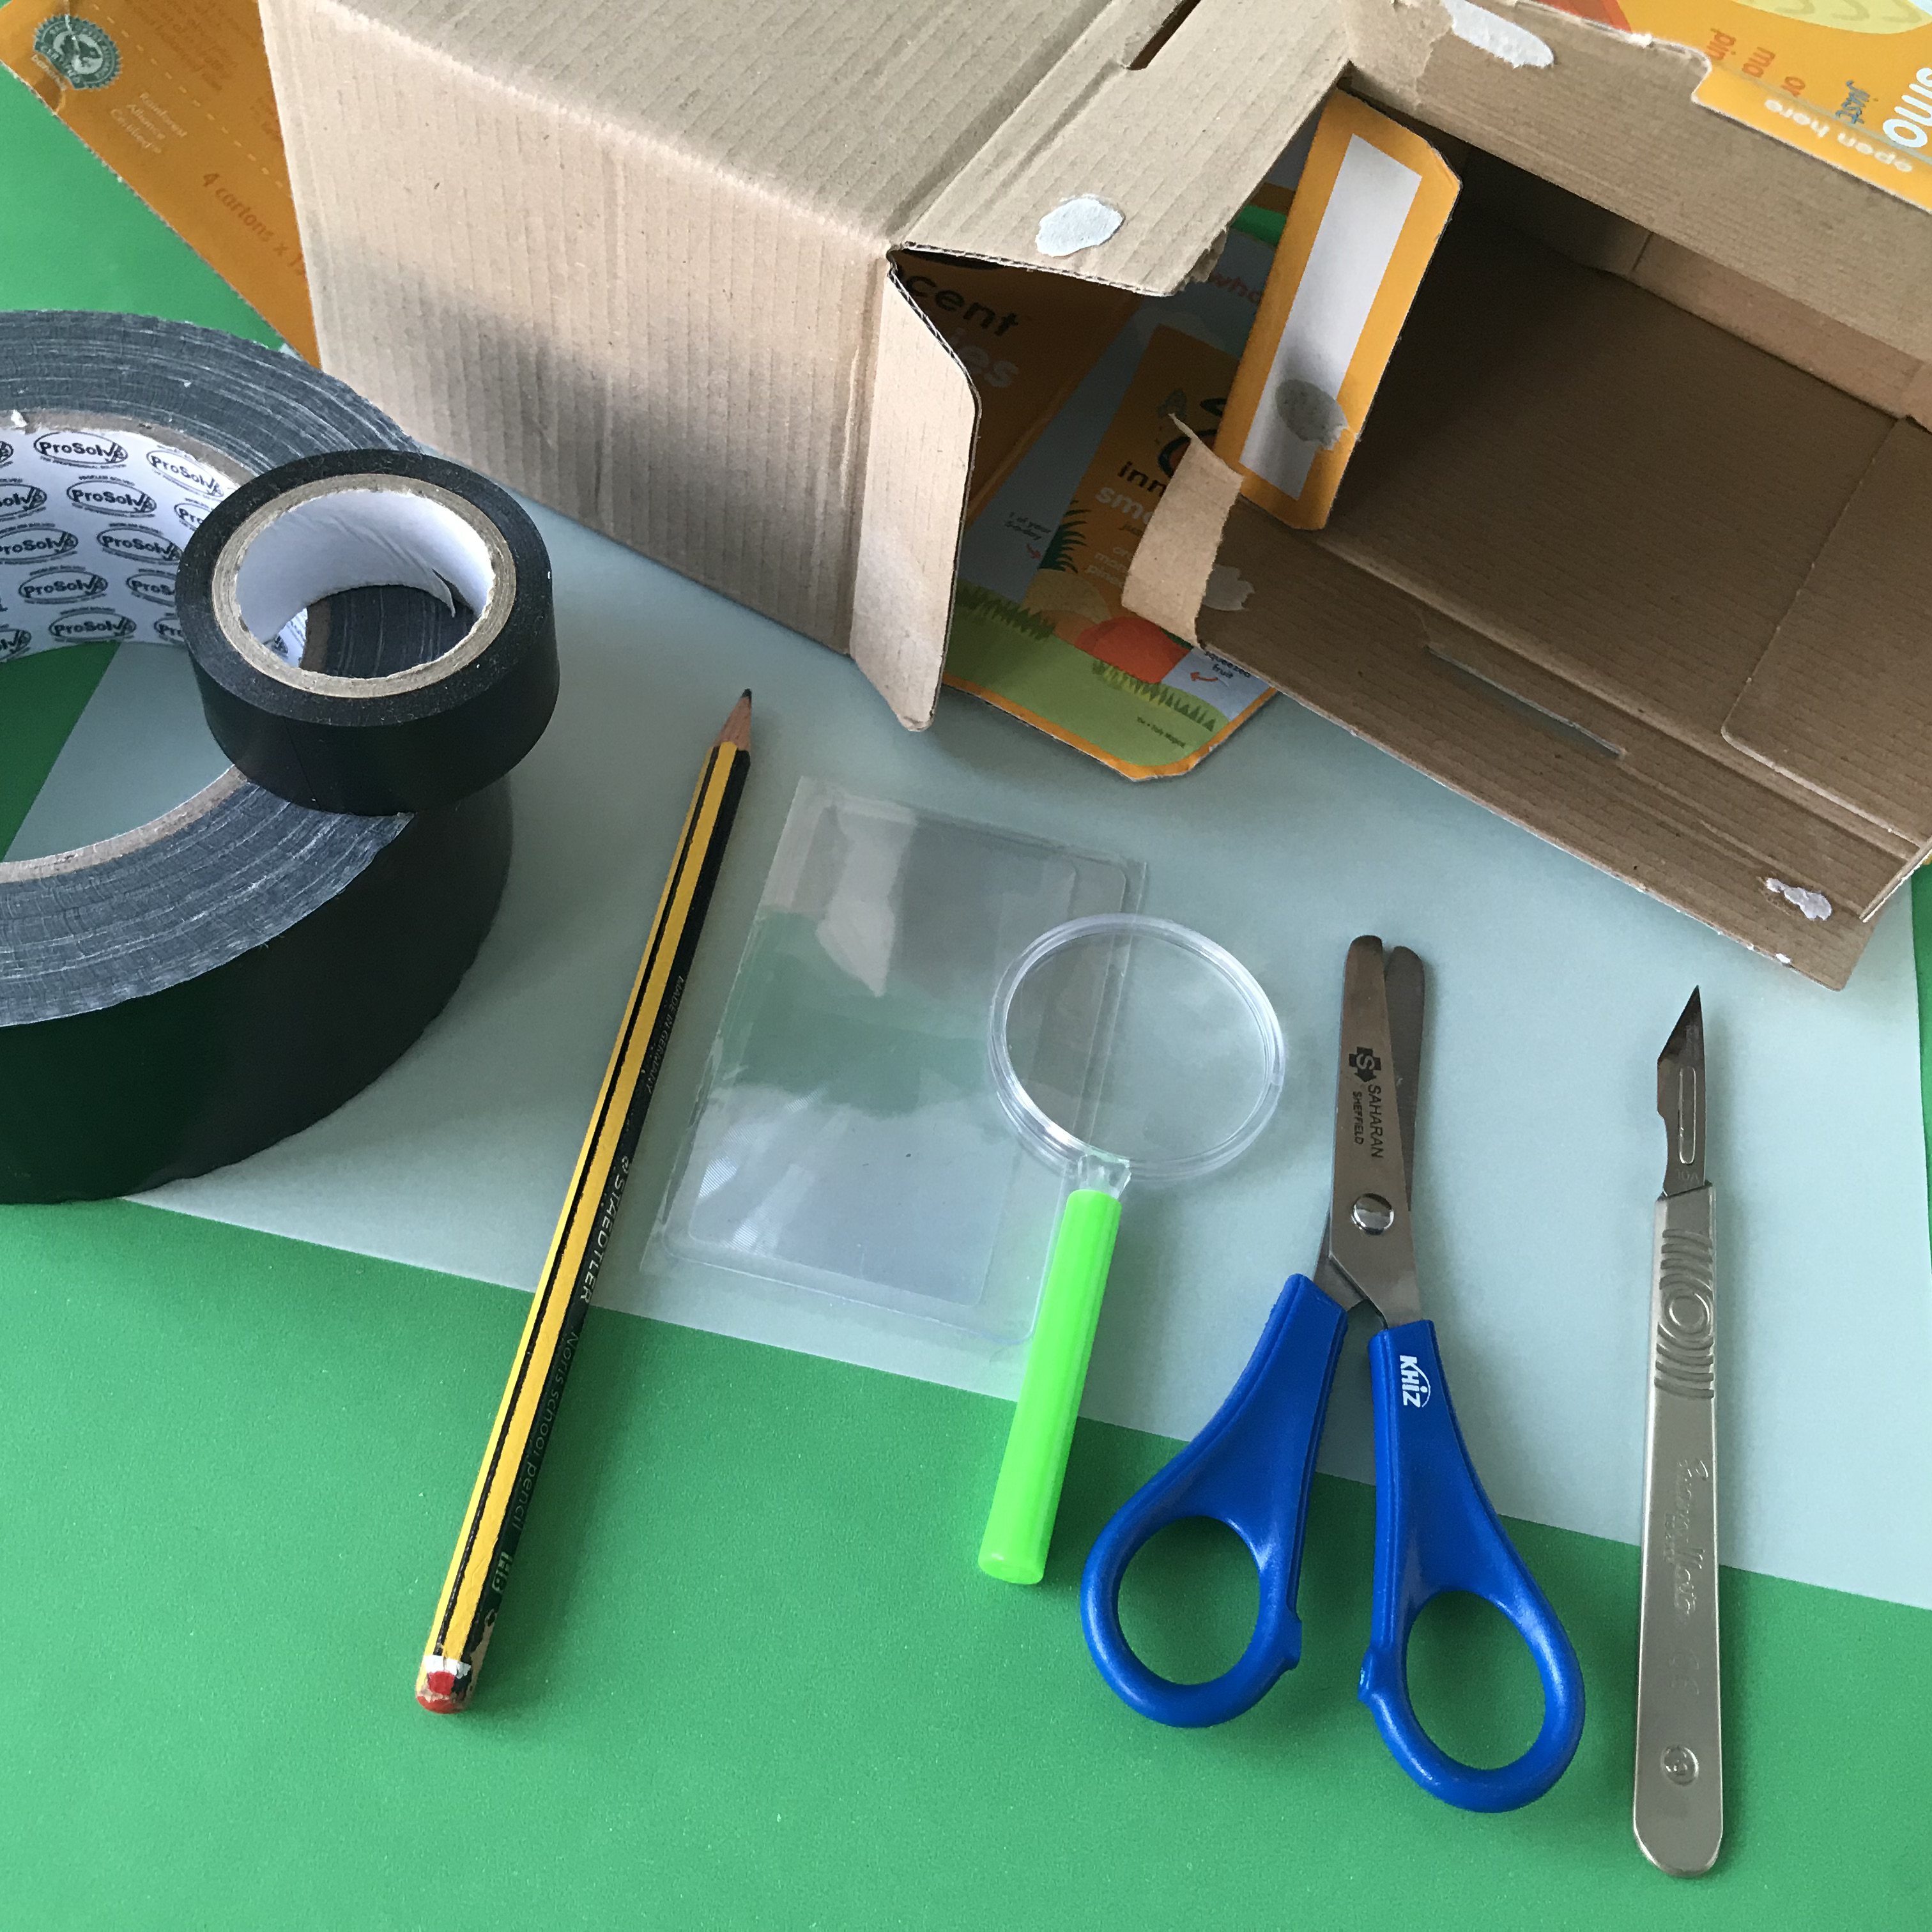
Step 1: You will need...
2 boxes of similar size
Make sure they are at least 16cm in length and fit inside each other


Create your own simple camera obscura, the early ancestor of the camera. Create soft images upside down, then flip them into the 21st century with your smartphone.
Resource by Lindsey Smith.
2 boxes of similar size
Make sure they are at least 16cm in length and fit inside each other
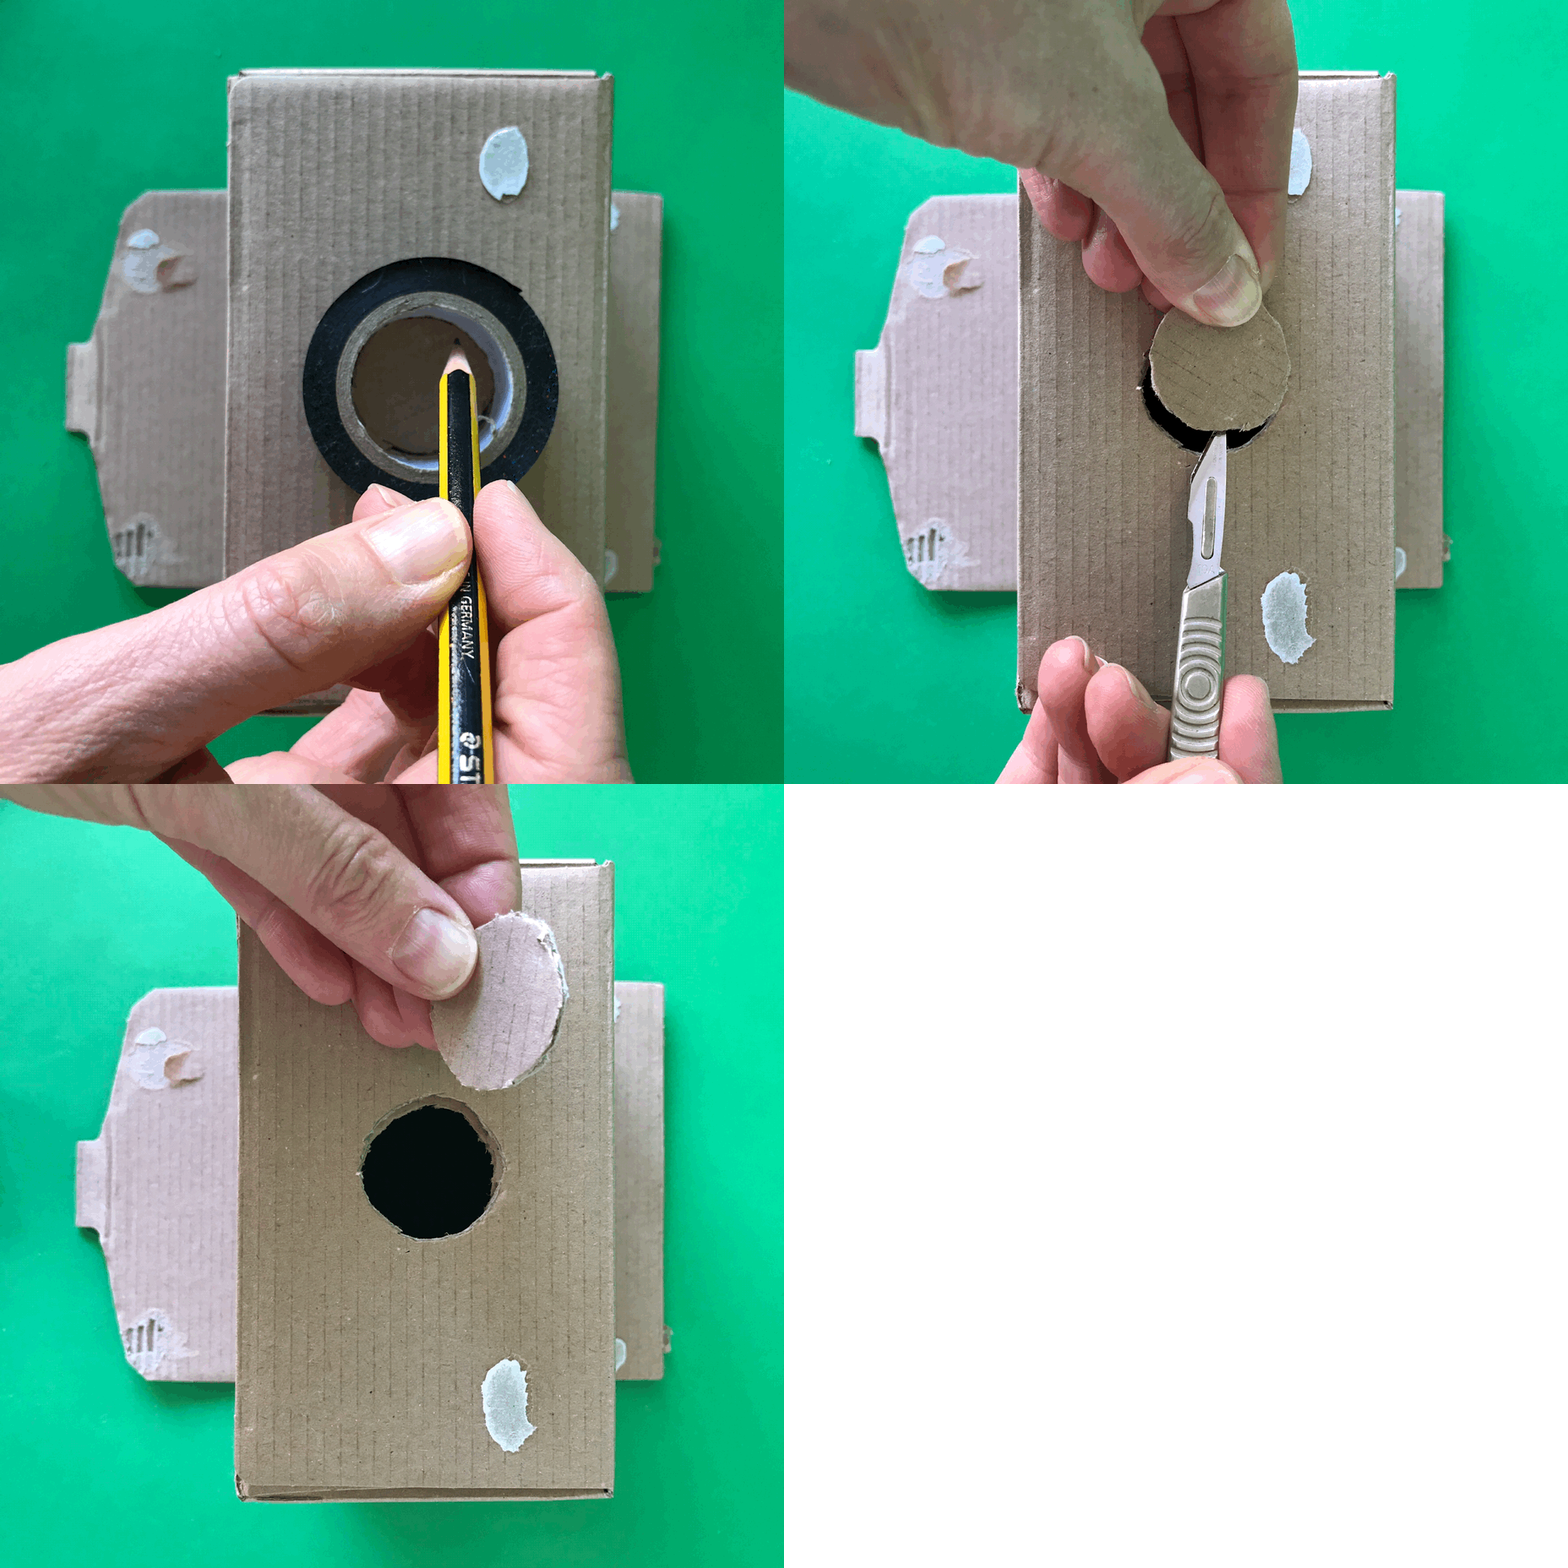
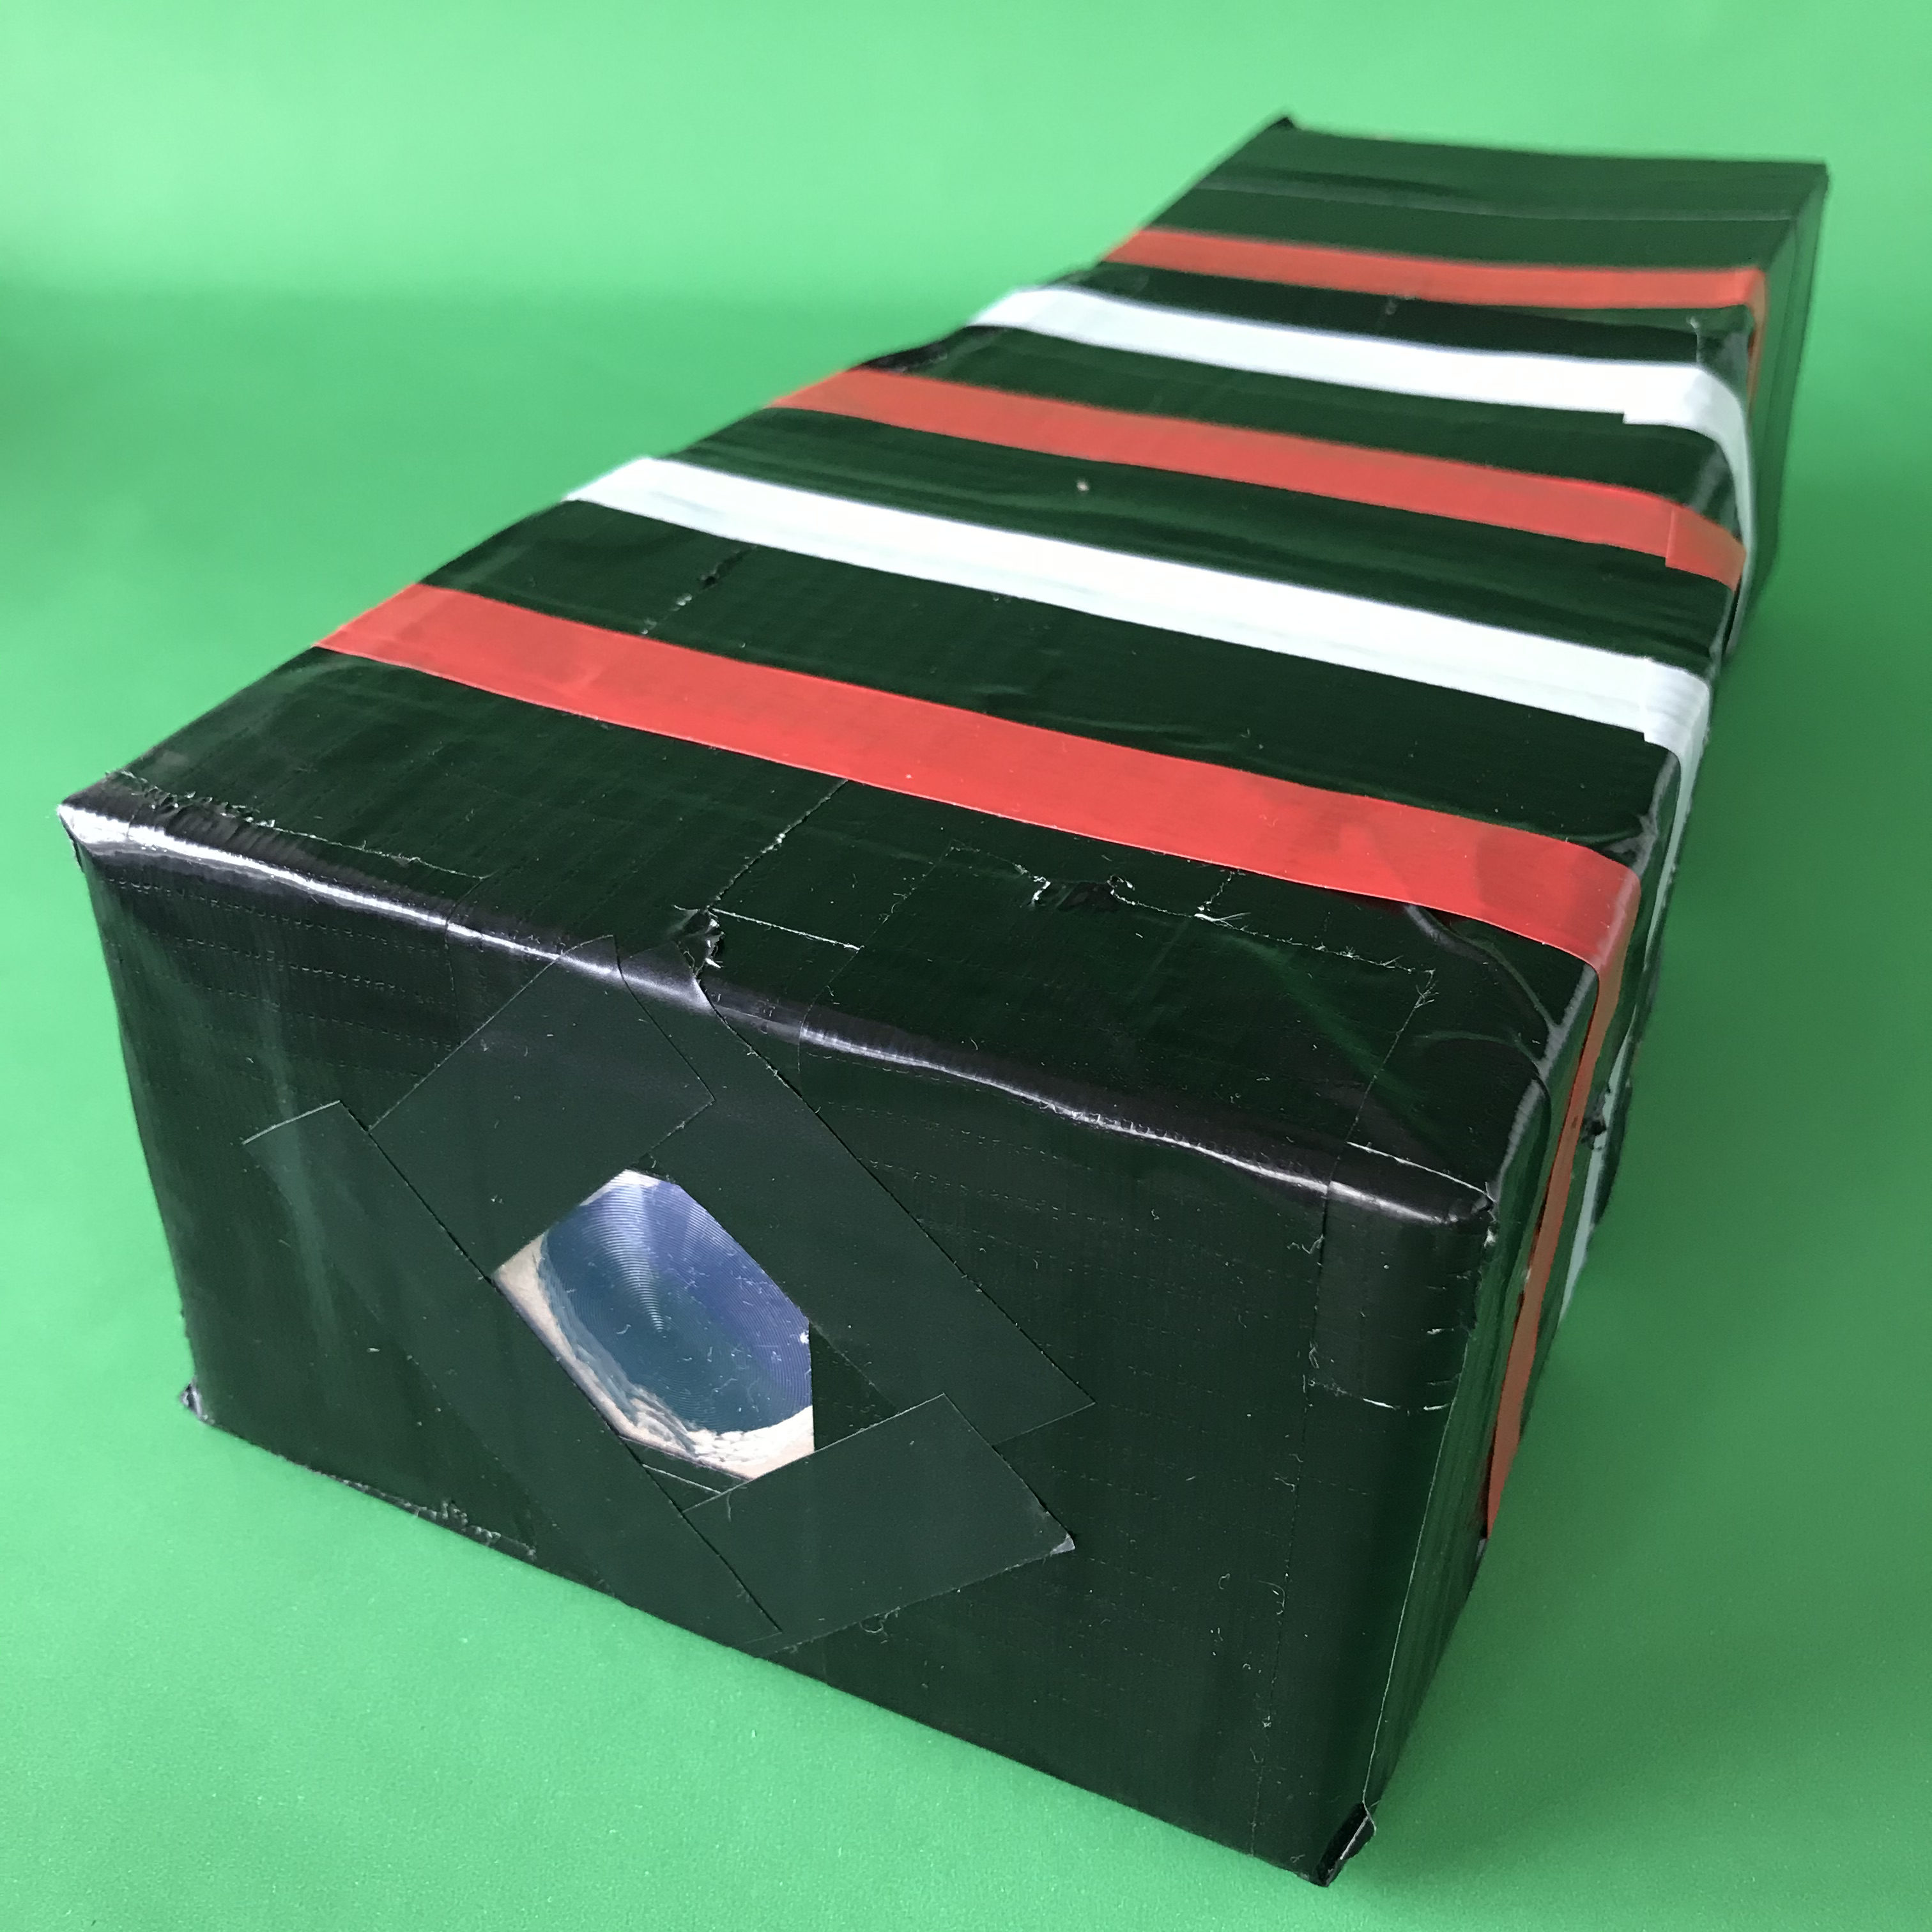
Cut a circle out of one end of the larger box.
Use the inside of the insulation tape roll to create a good size circle.
Use a craft knife to cut it out.
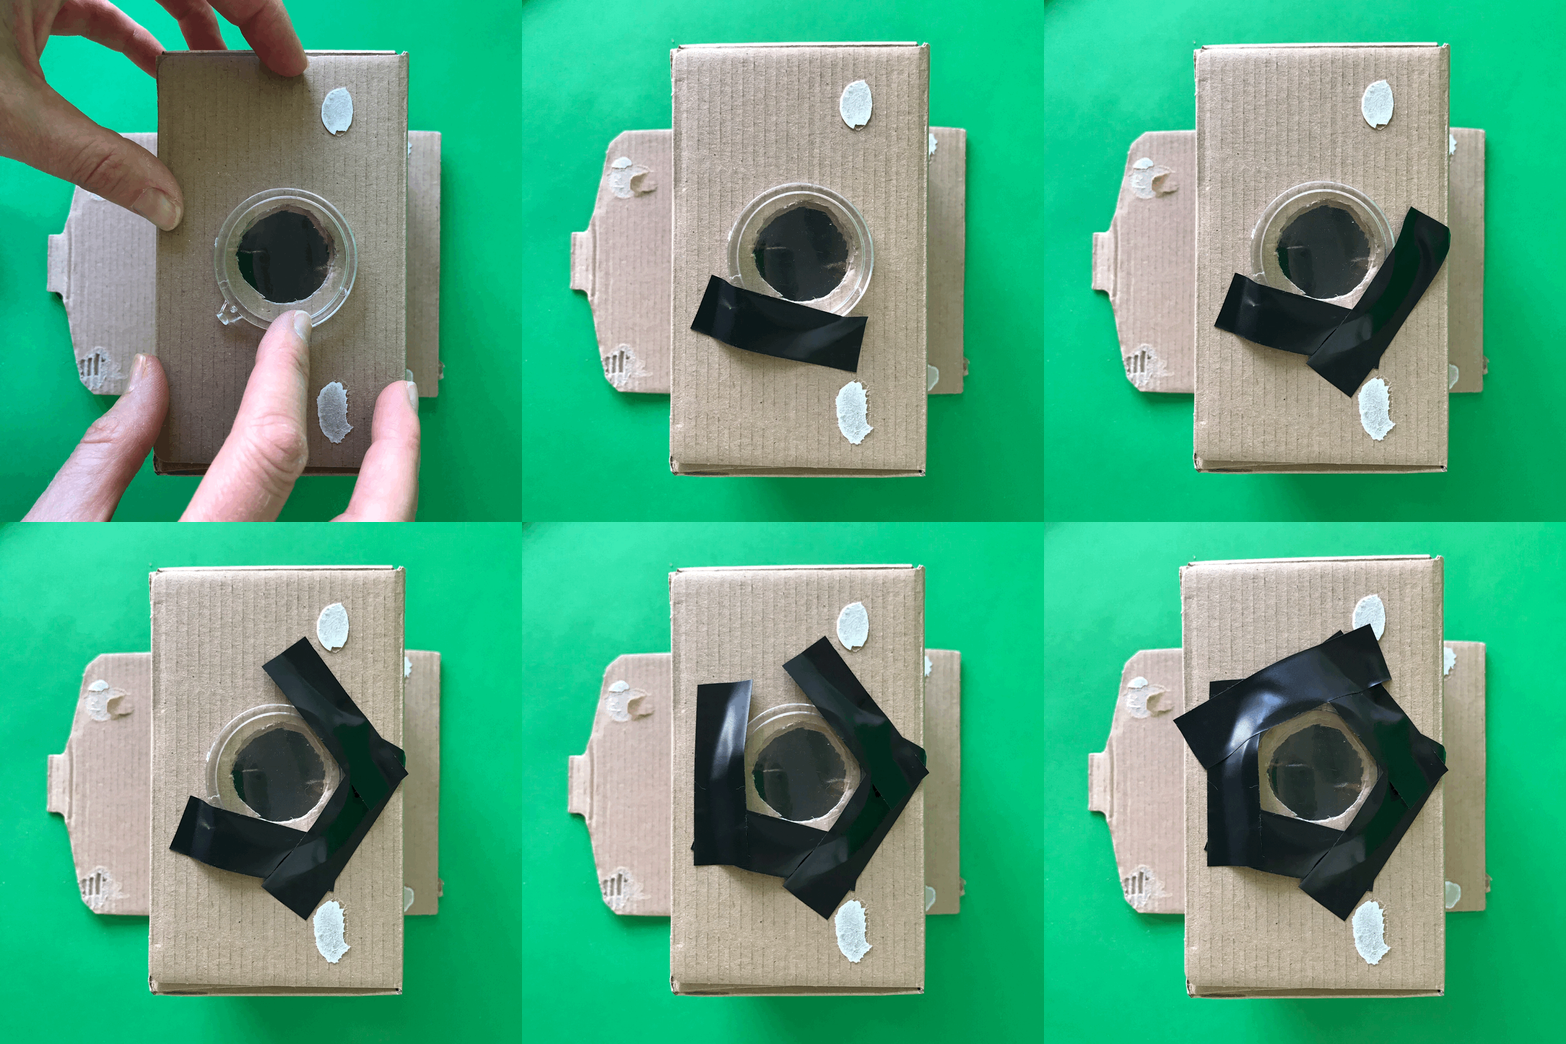
Attach it over the cut out circle using electrical tape, making sure it’s secure.
This is the lens that will focus the image.
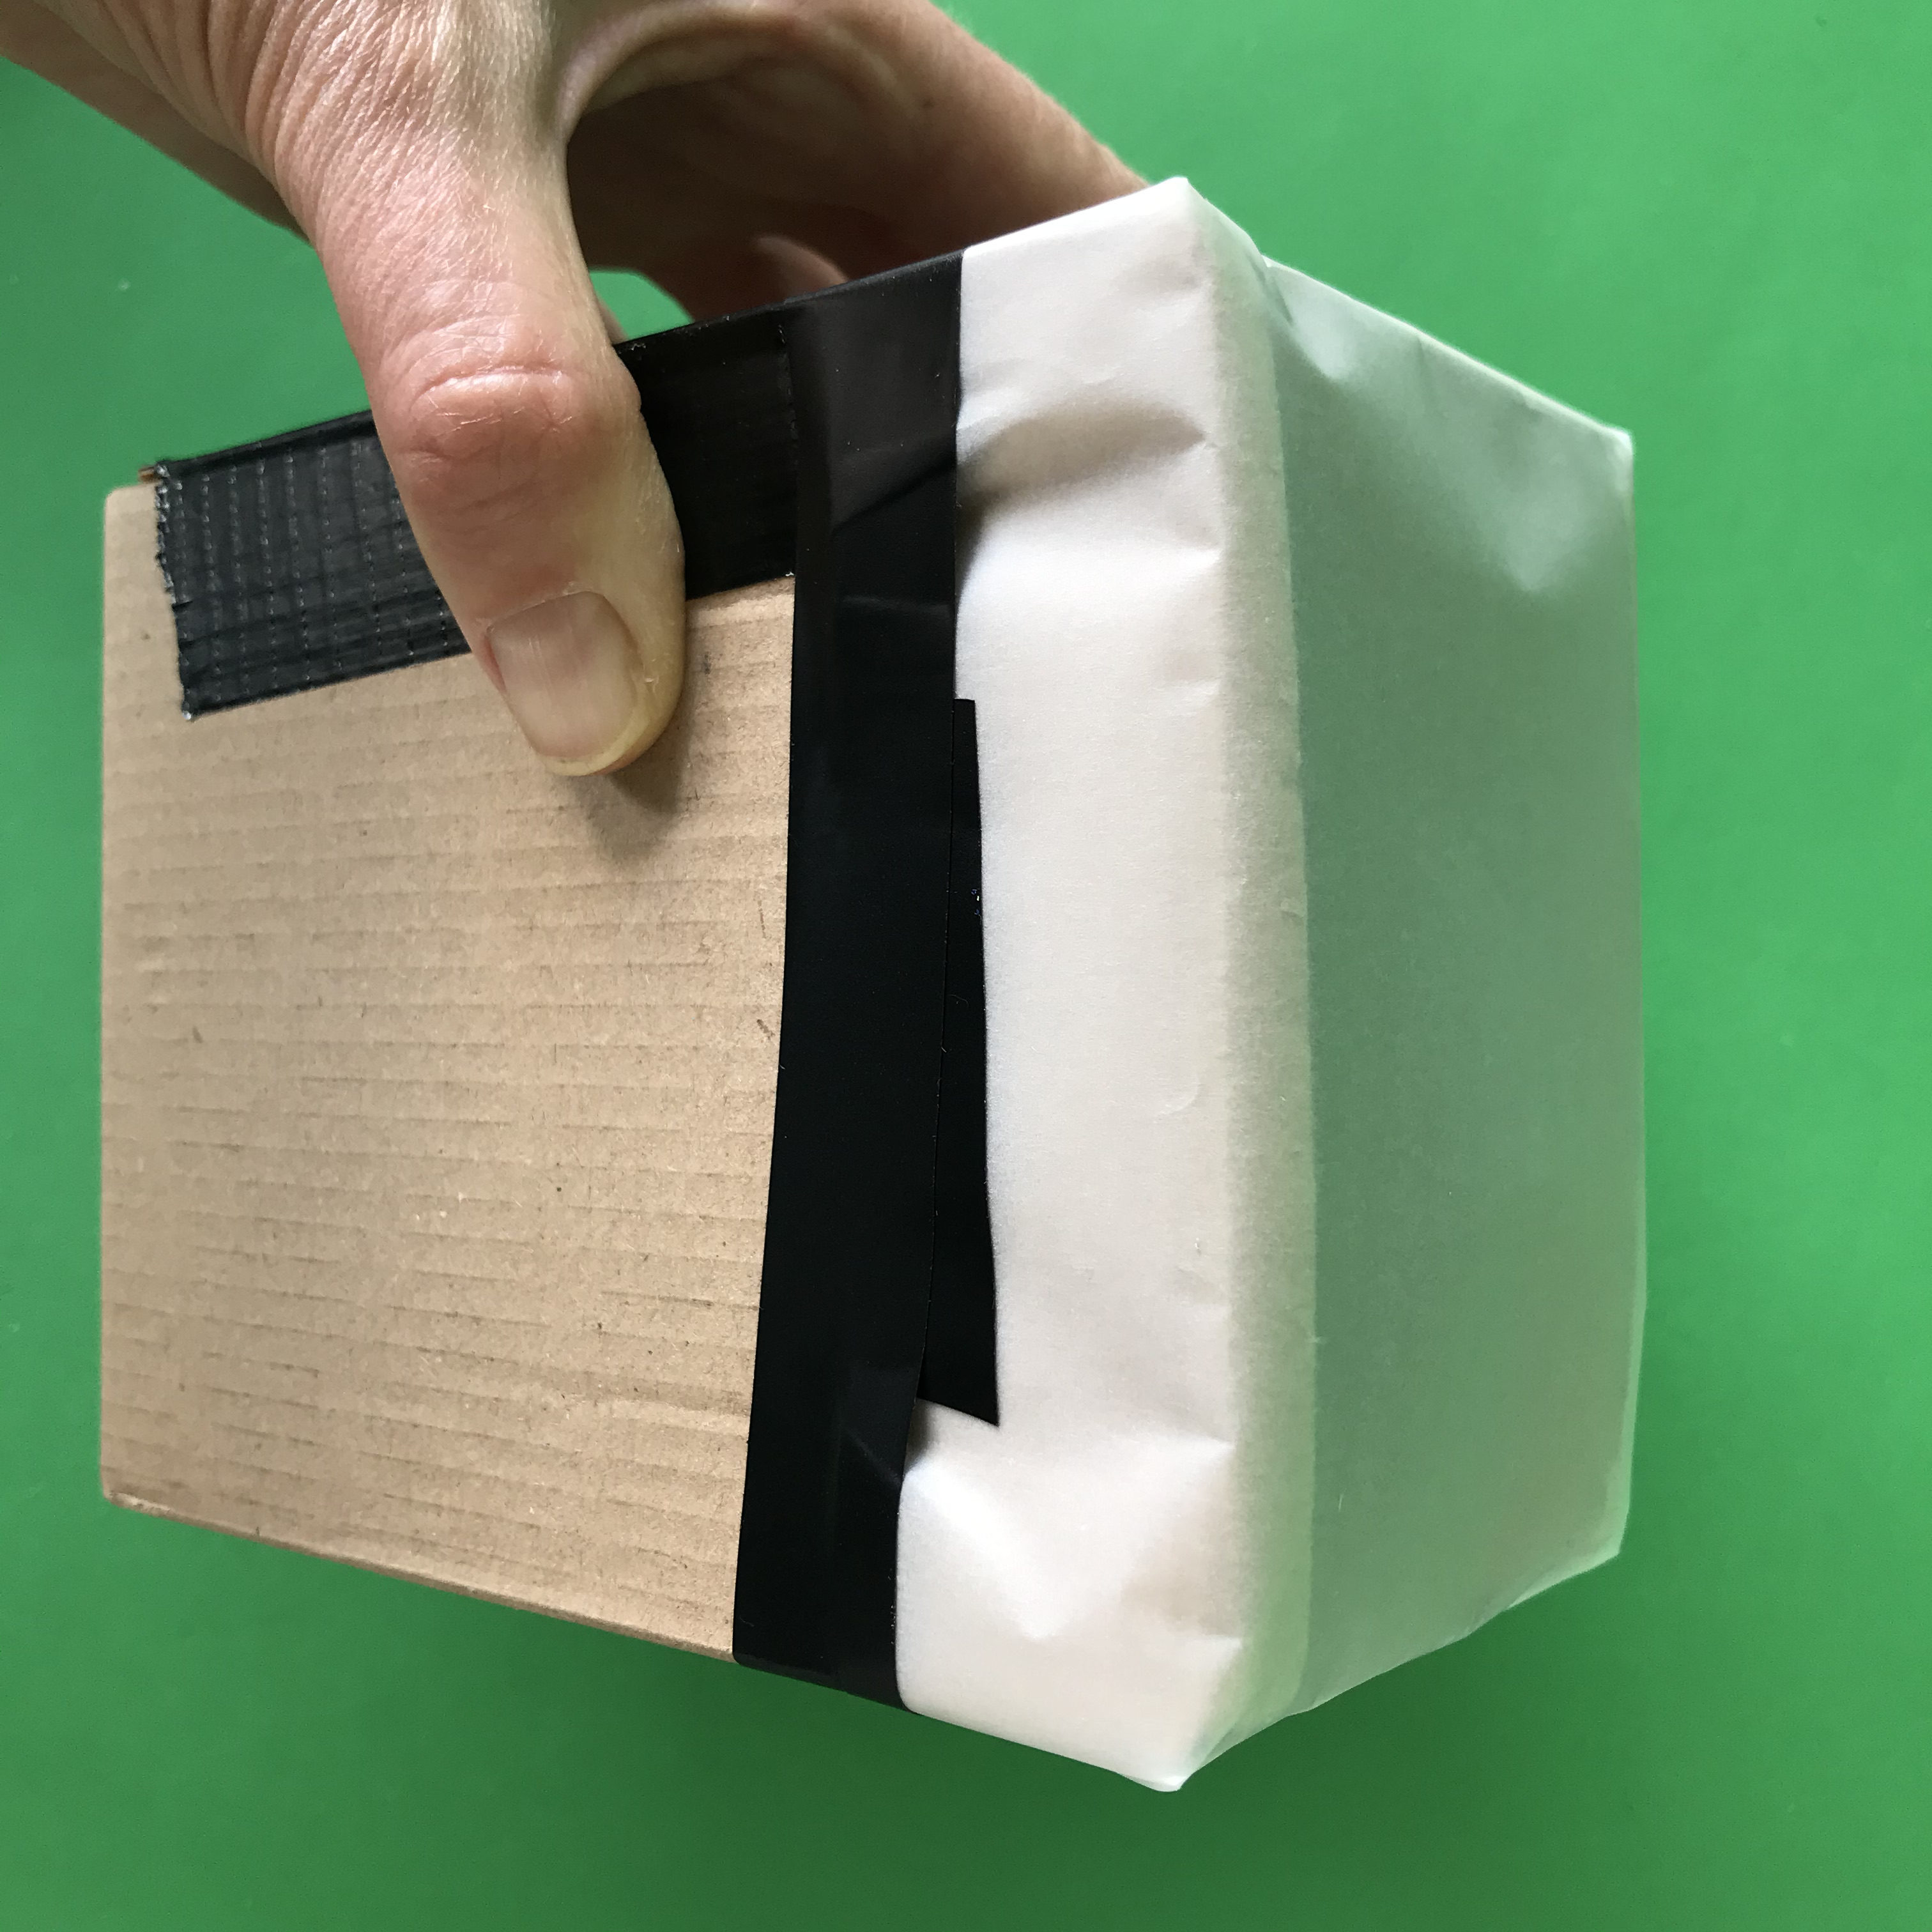
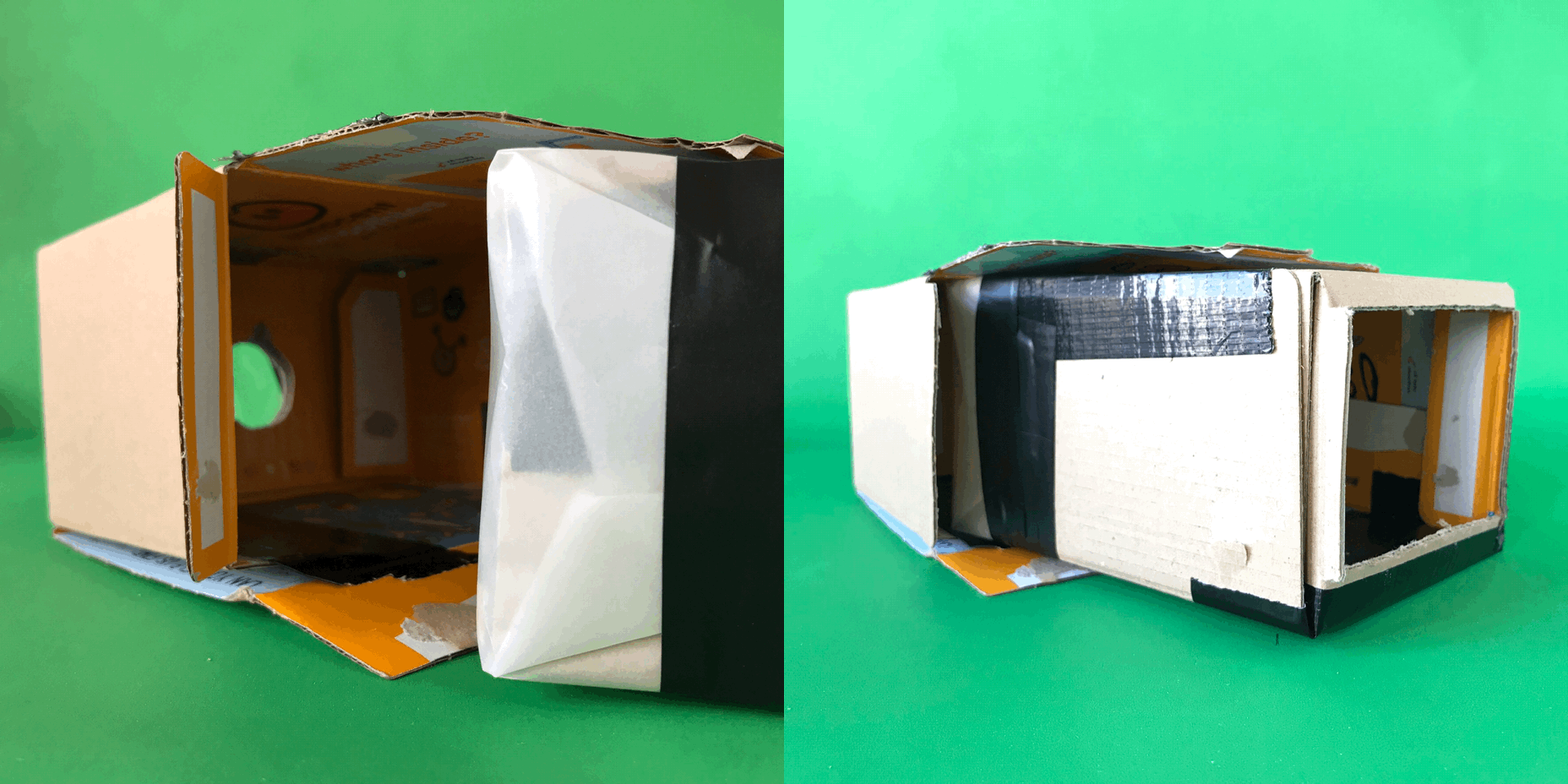
Cut the tracing paper to a size that will cover one end of the smaller box and secure it in place with gaffa tape.
Push the end covered in tracing paper into the other box, with the lens facing away.
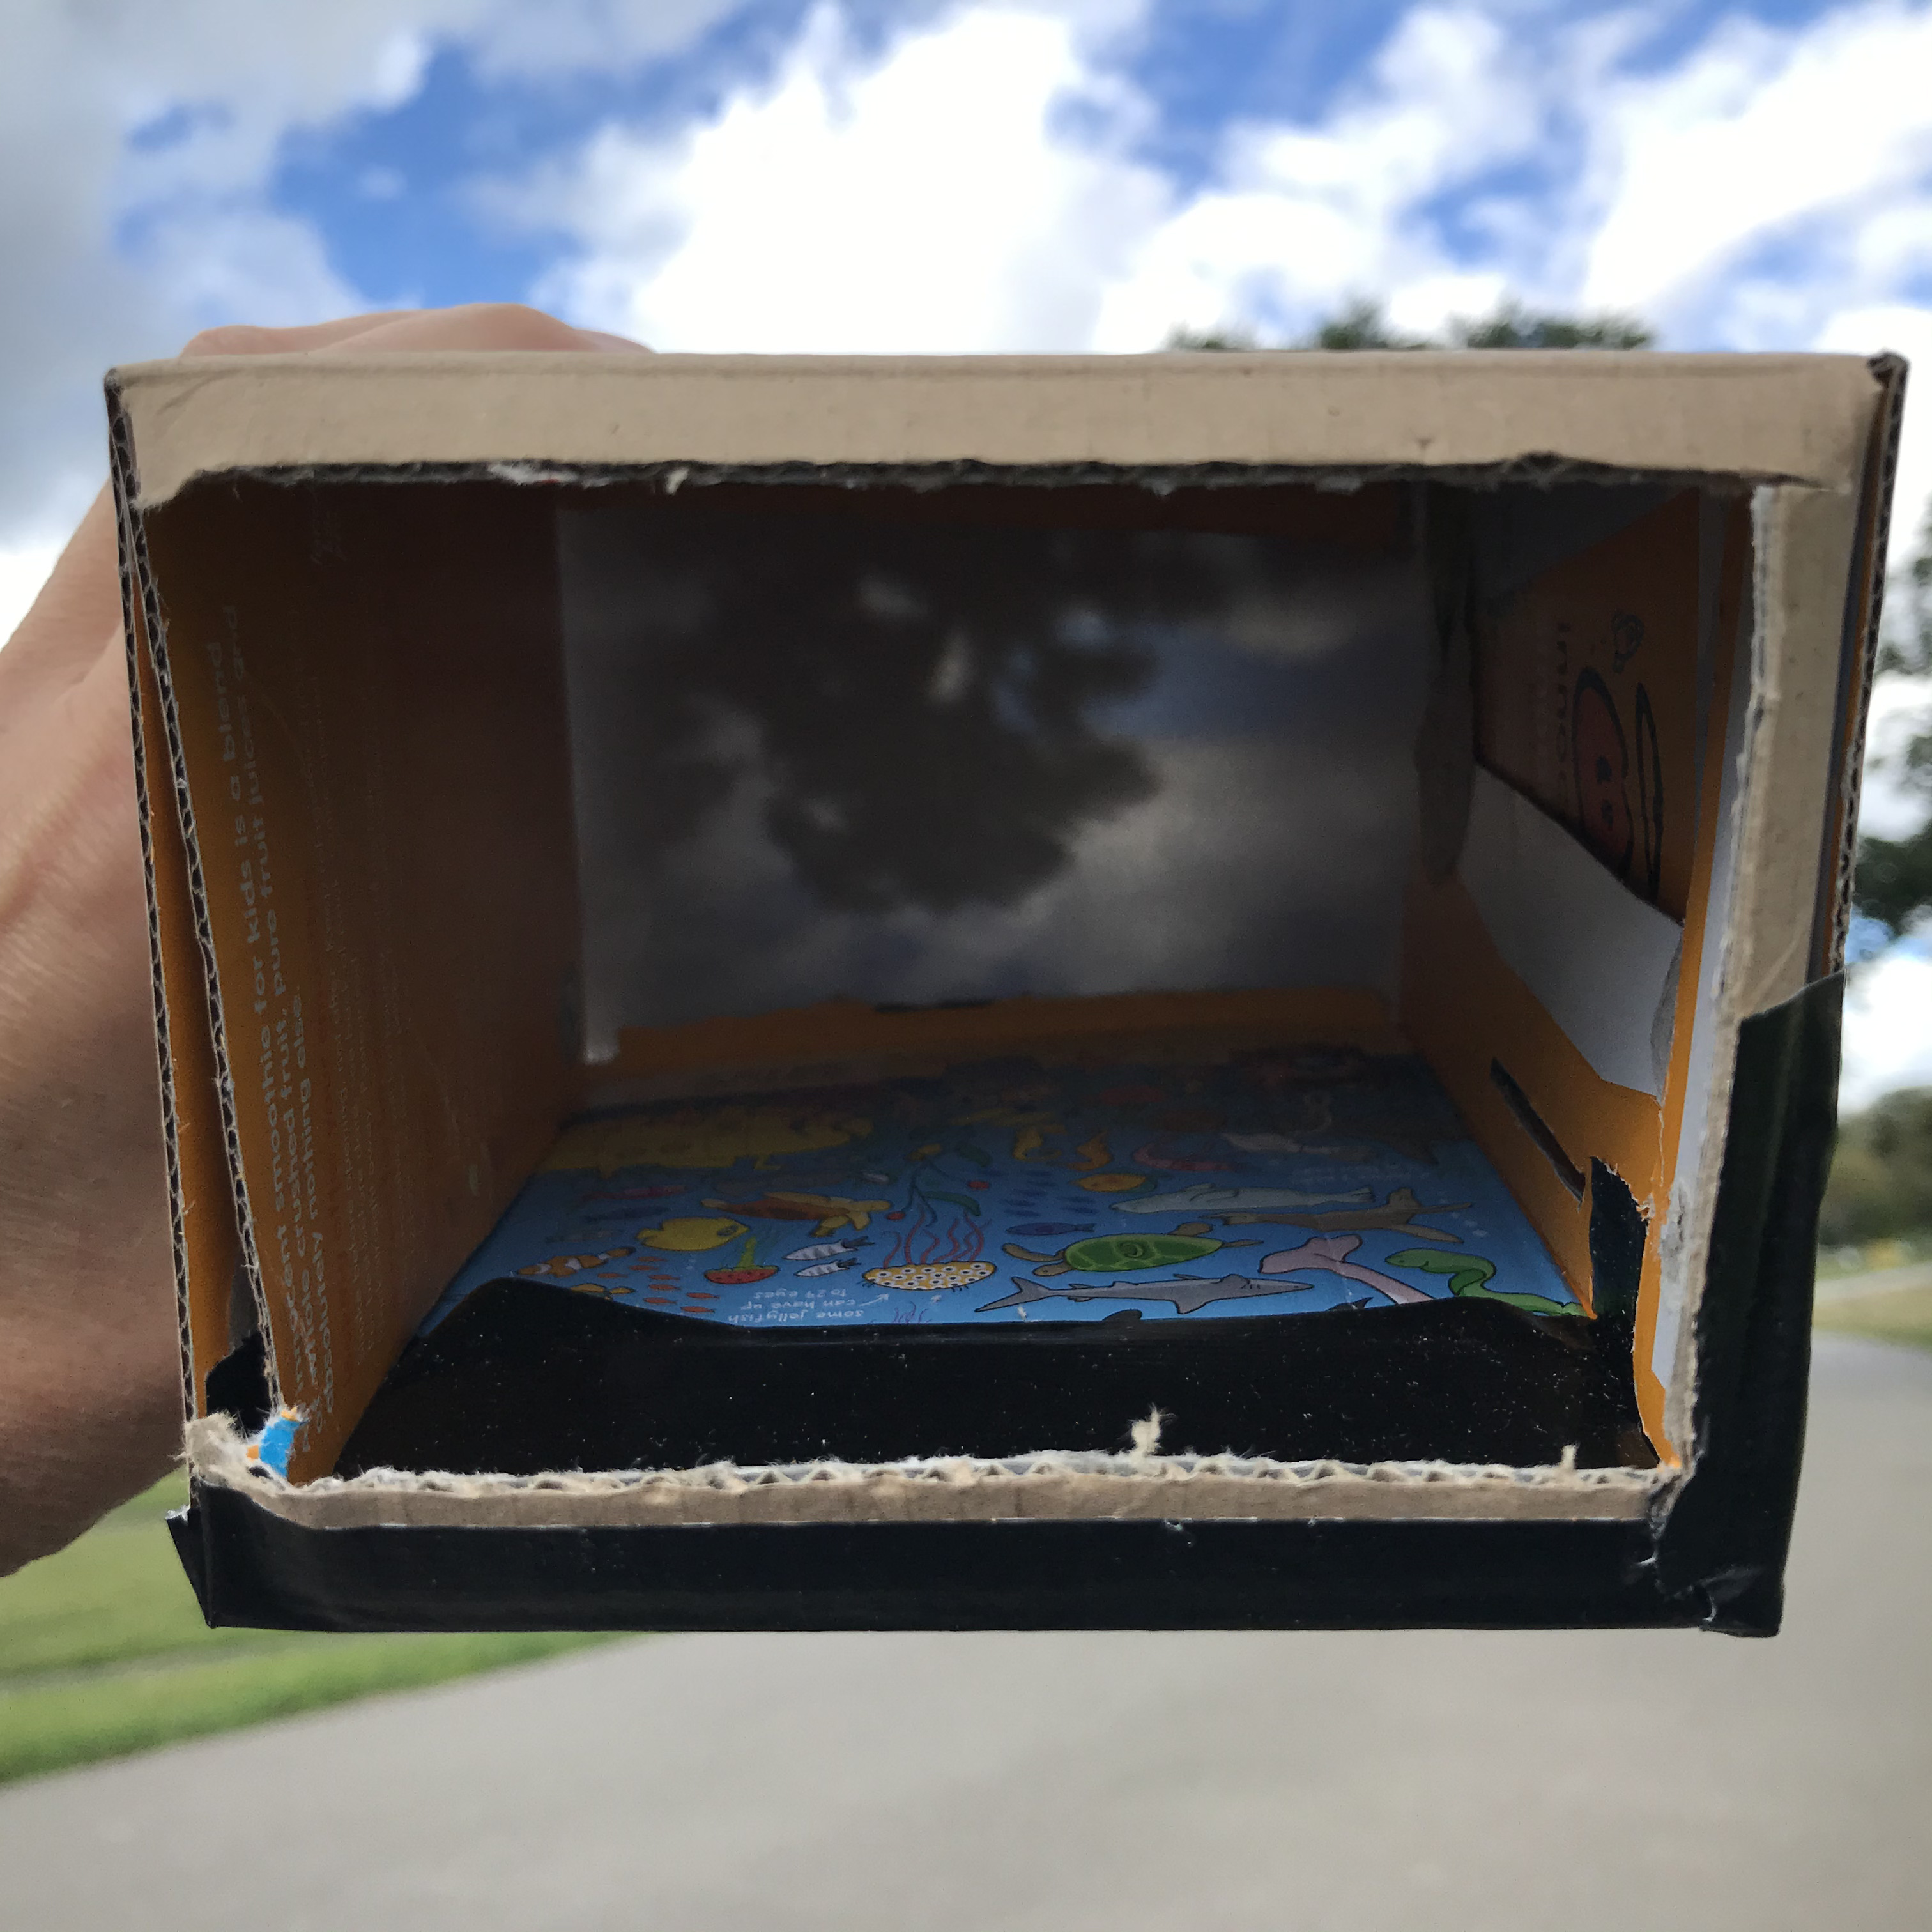
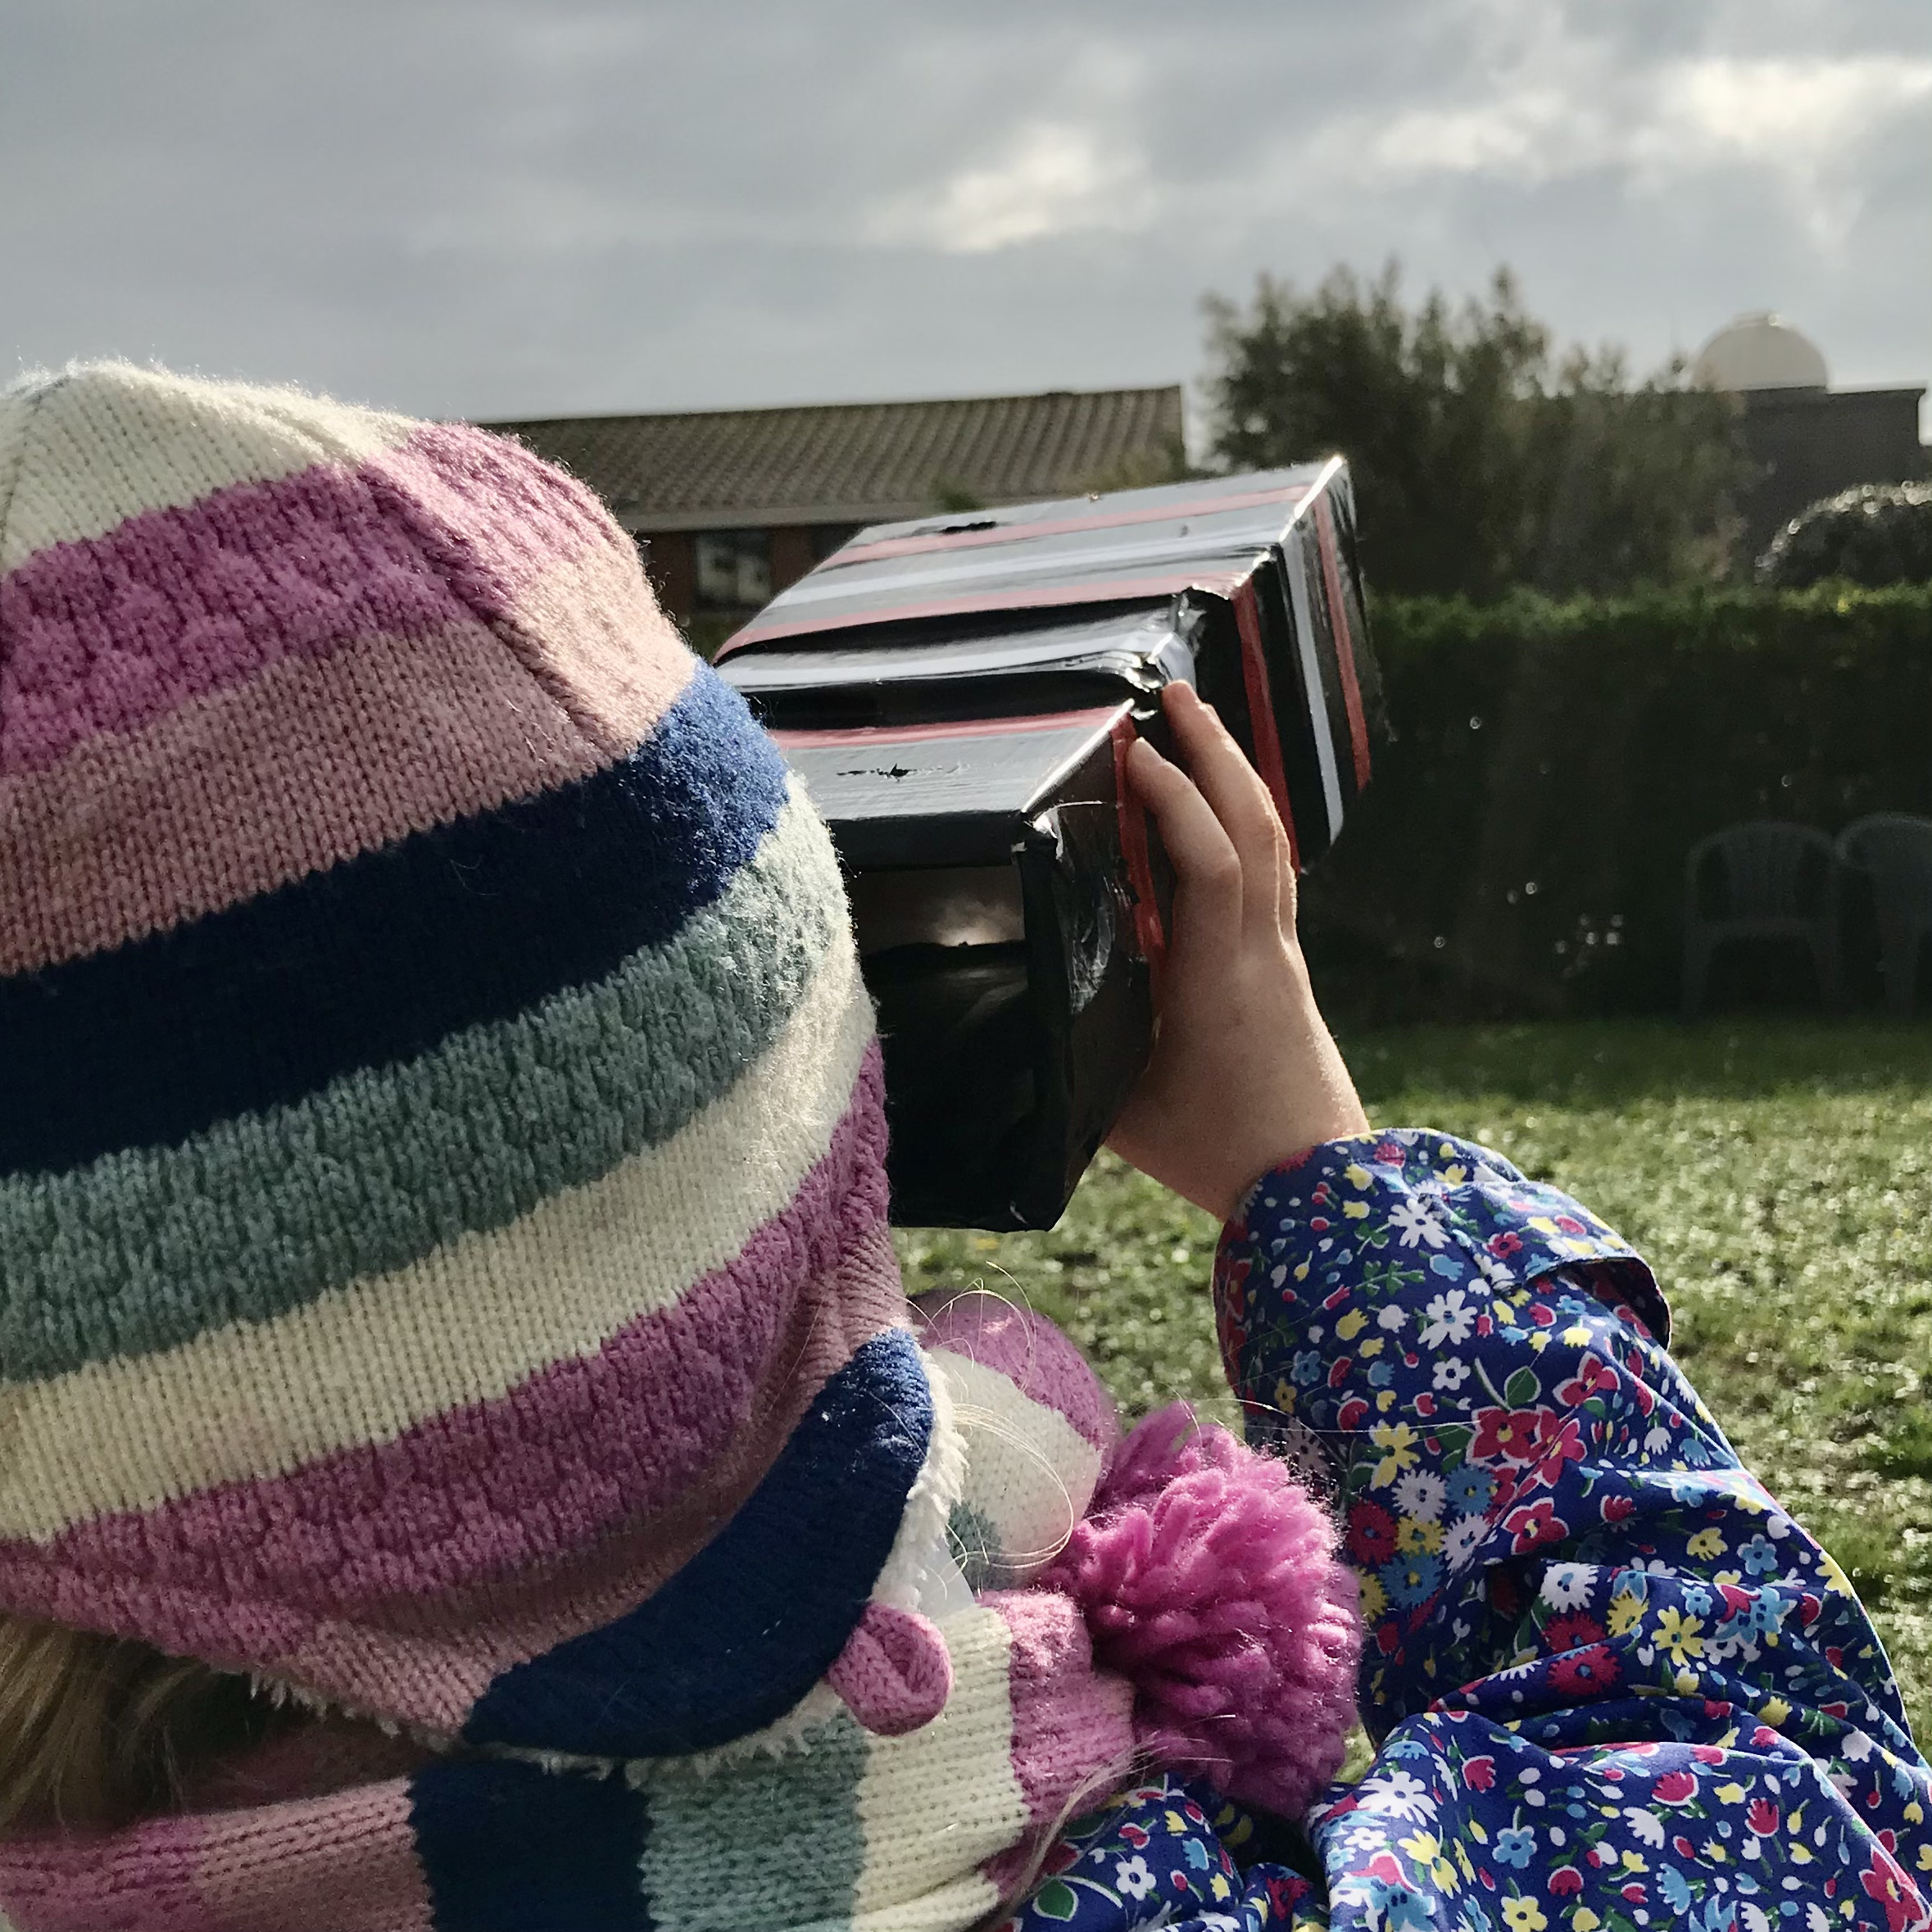
Point the lens towards a bright outdoor area (not directly at the sun) and look through the other end at the tracing paper screen.
Pull and push the boxes in and out until the image comes into focus.
When you find the point of focus secure the two boxes together.
Decorate them with coloured paper or tape if you want.
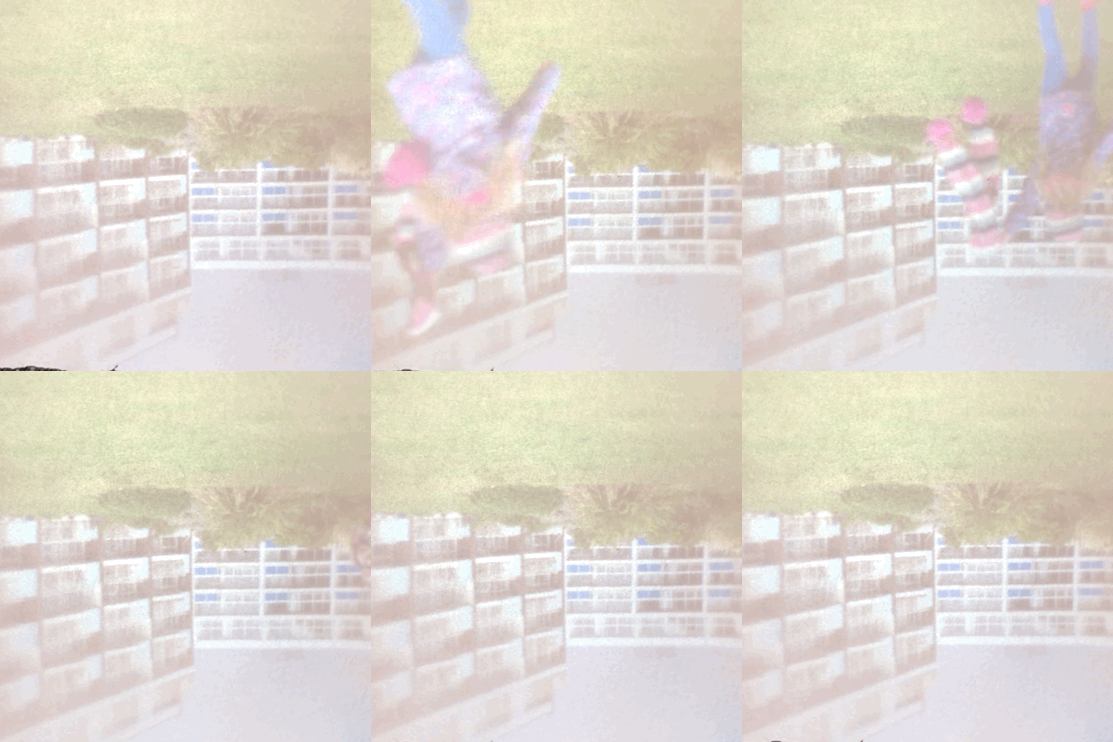
View the world upside down and back to front inside your camera obscura.
Take photos of the inside image or video the world as people walk upside down and clouds glide across the ground.
Share your photos with us! Send us your photos by email or DM us on instagram @photoworks_uk and add the hashtag #cameraobscura