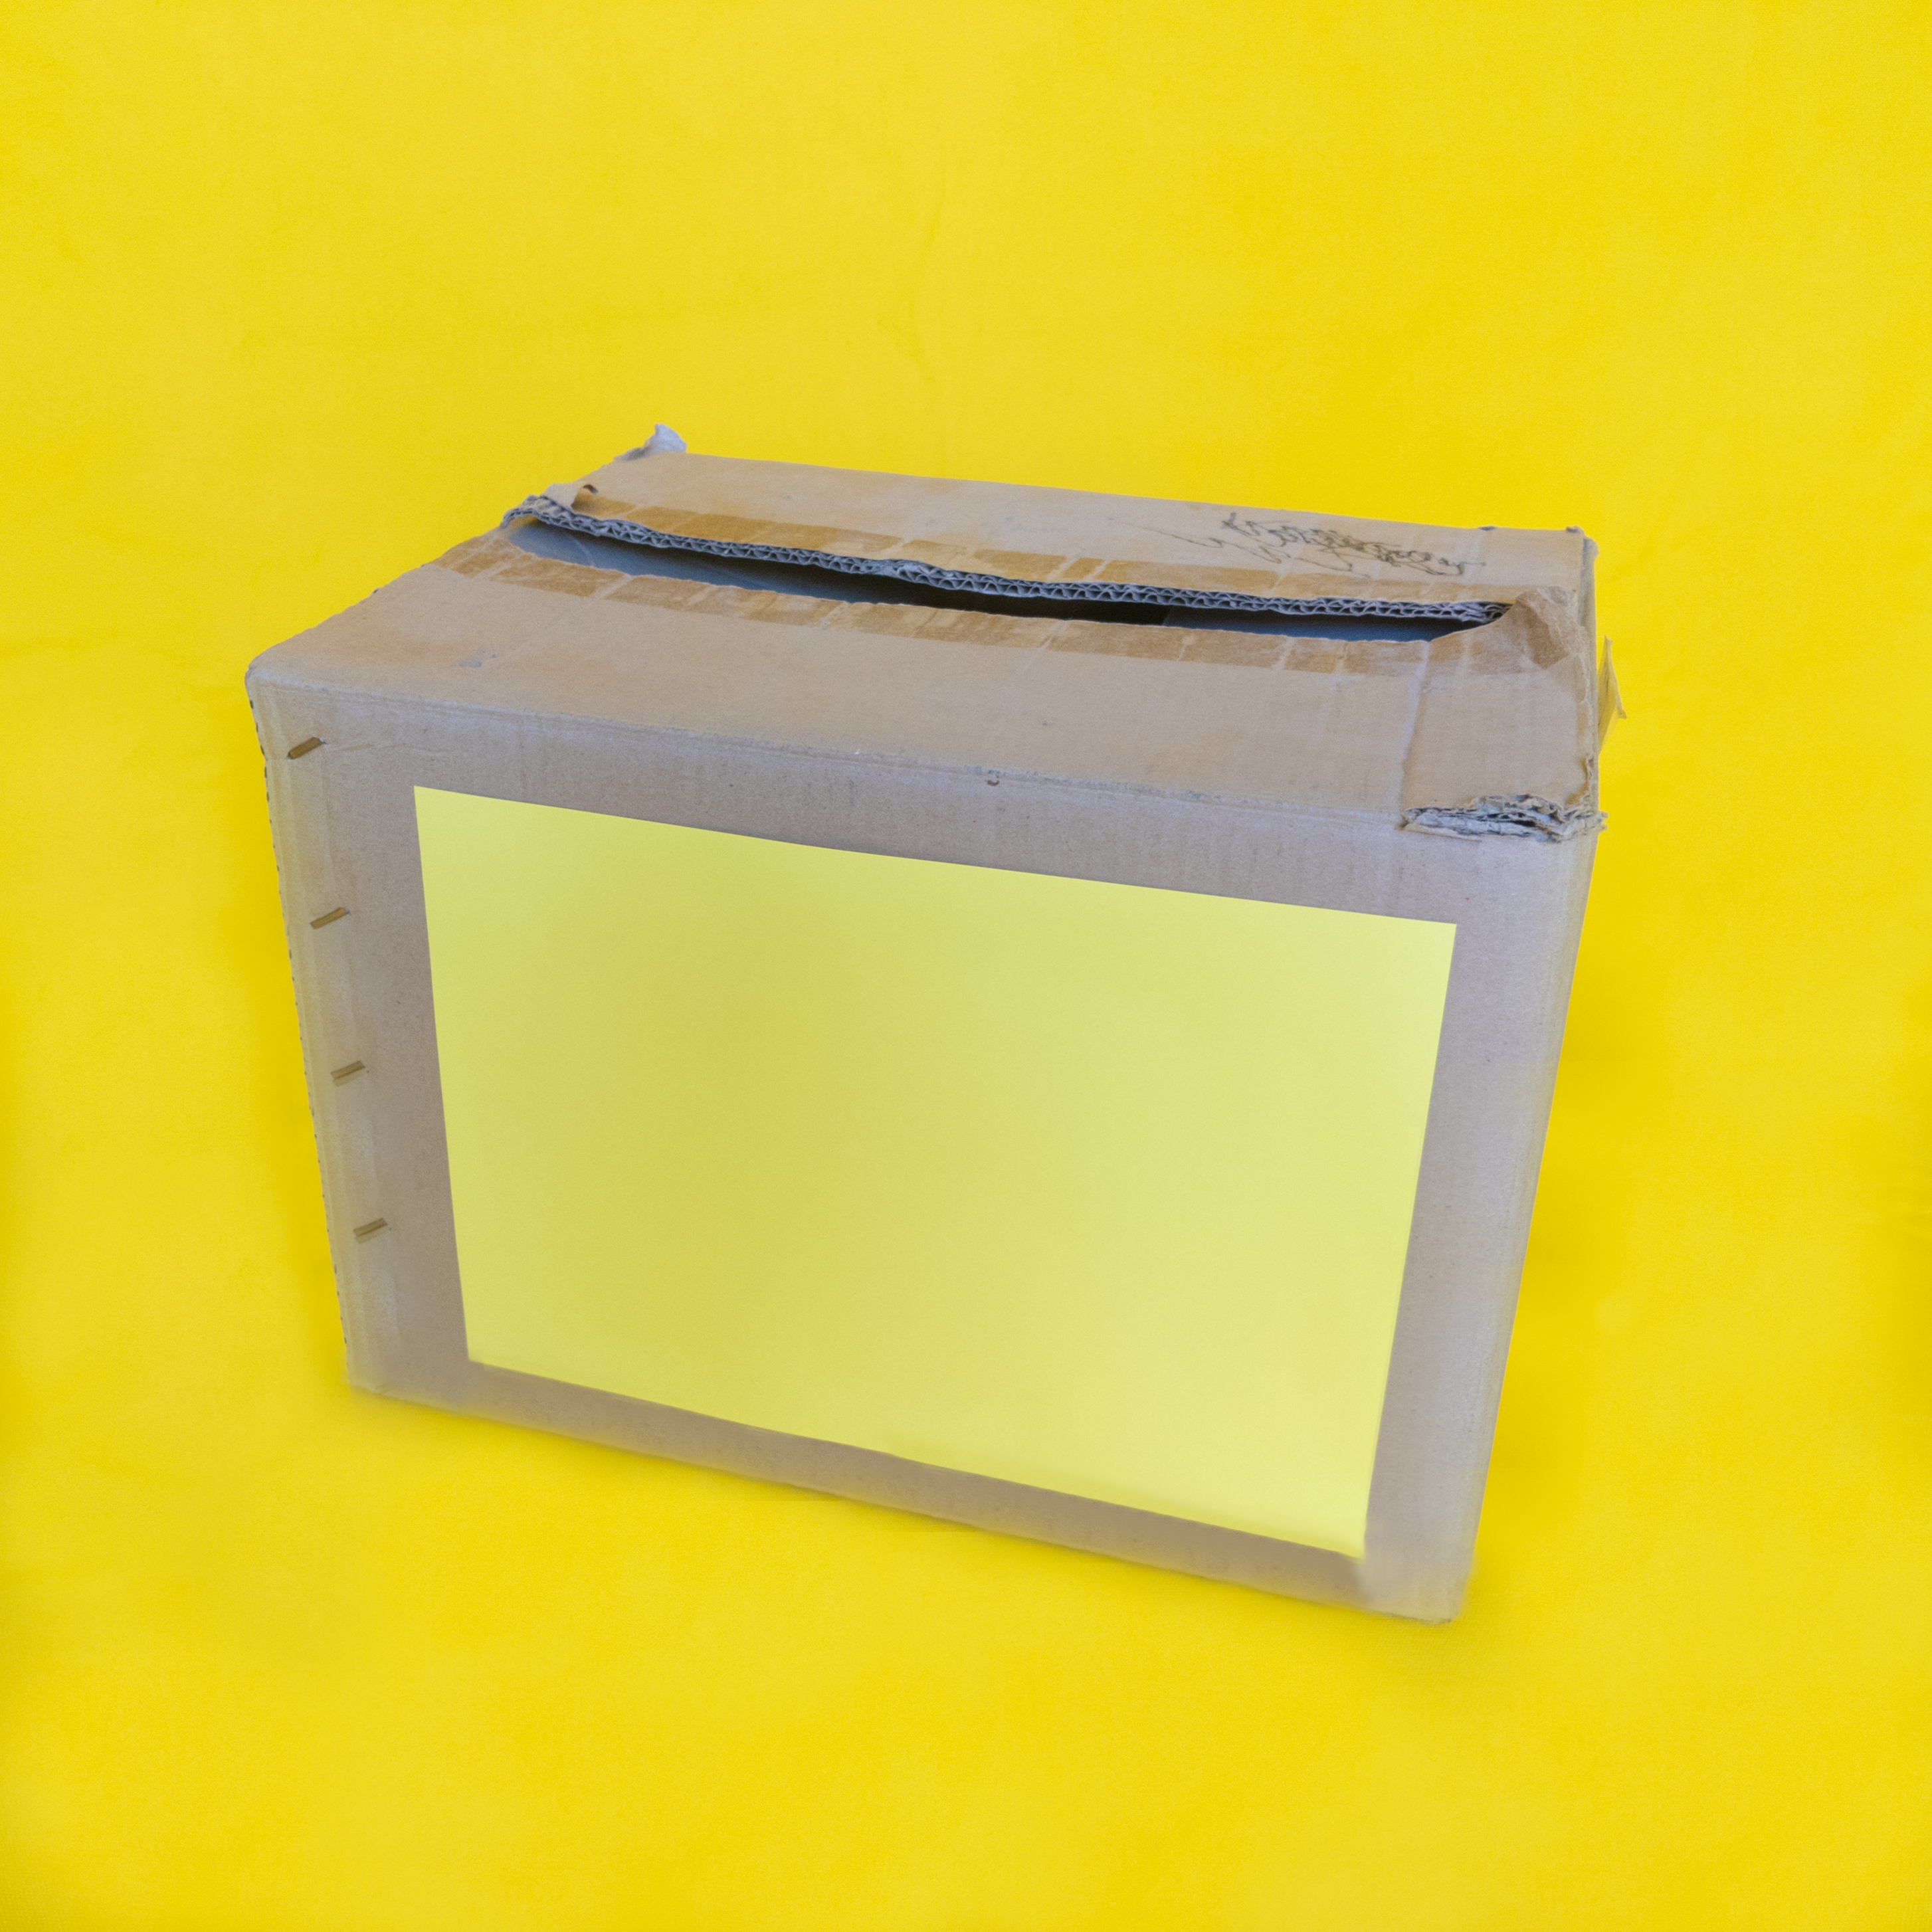
Step 1: You will need...
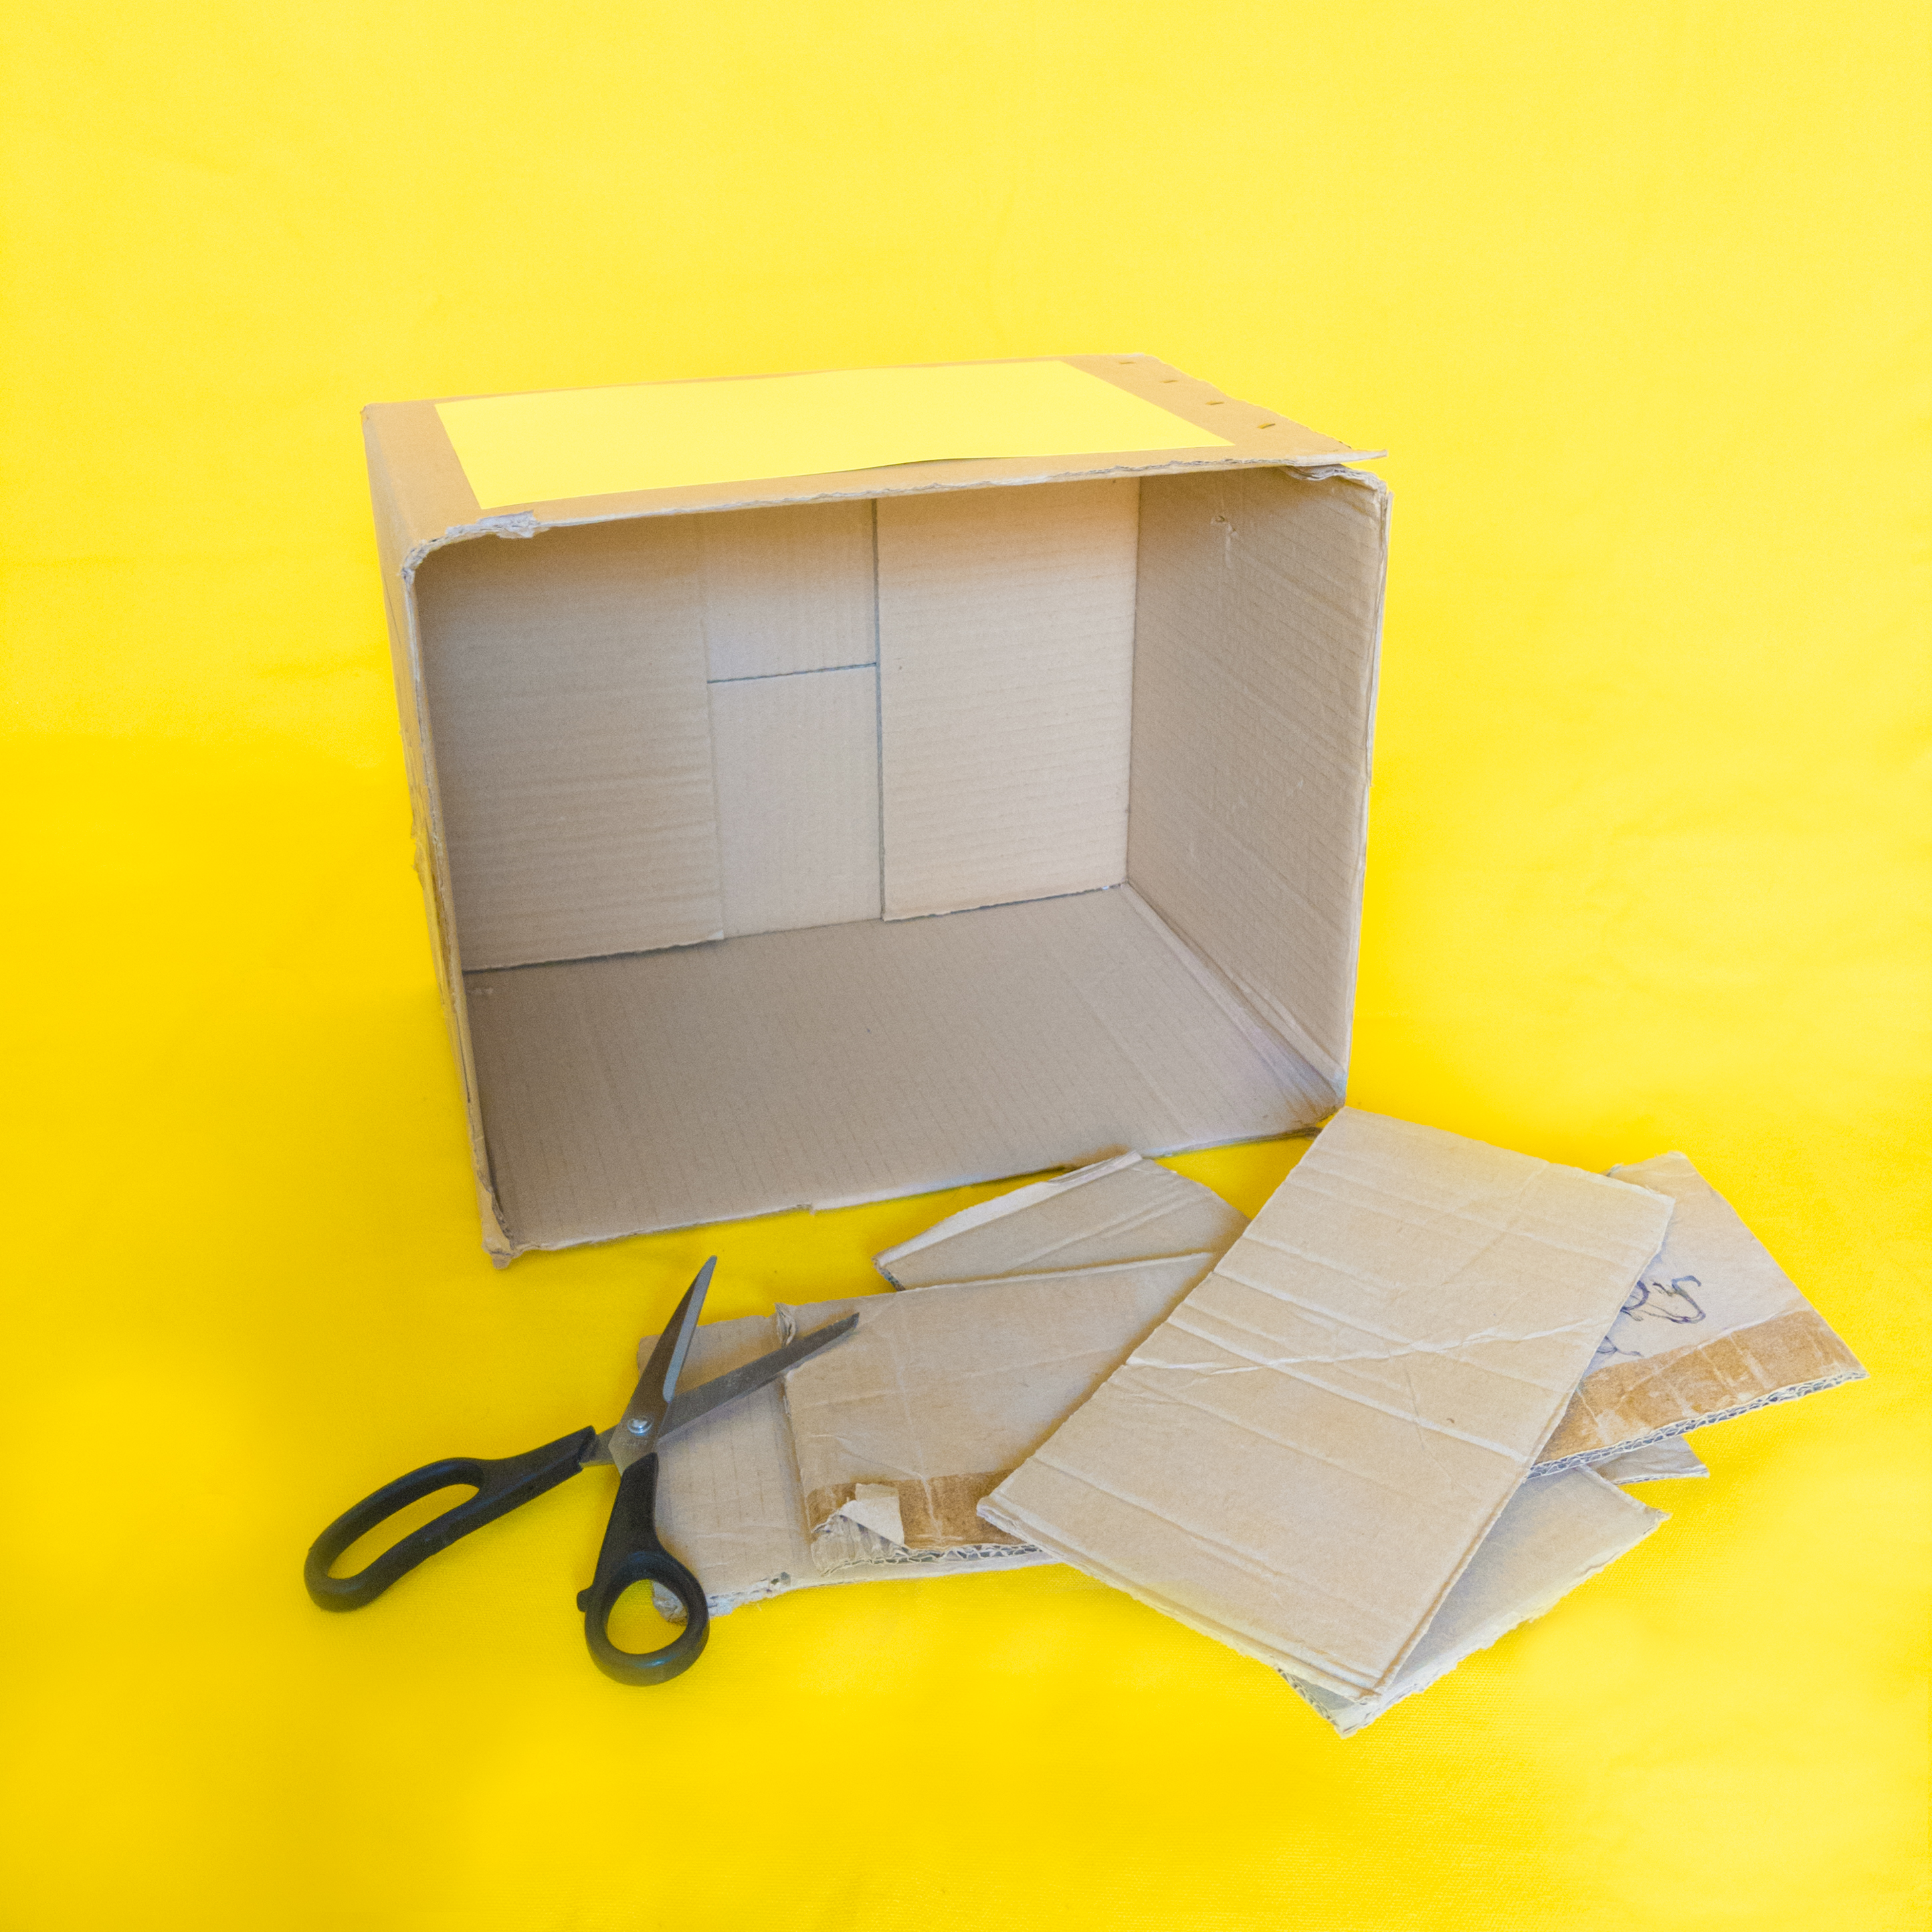
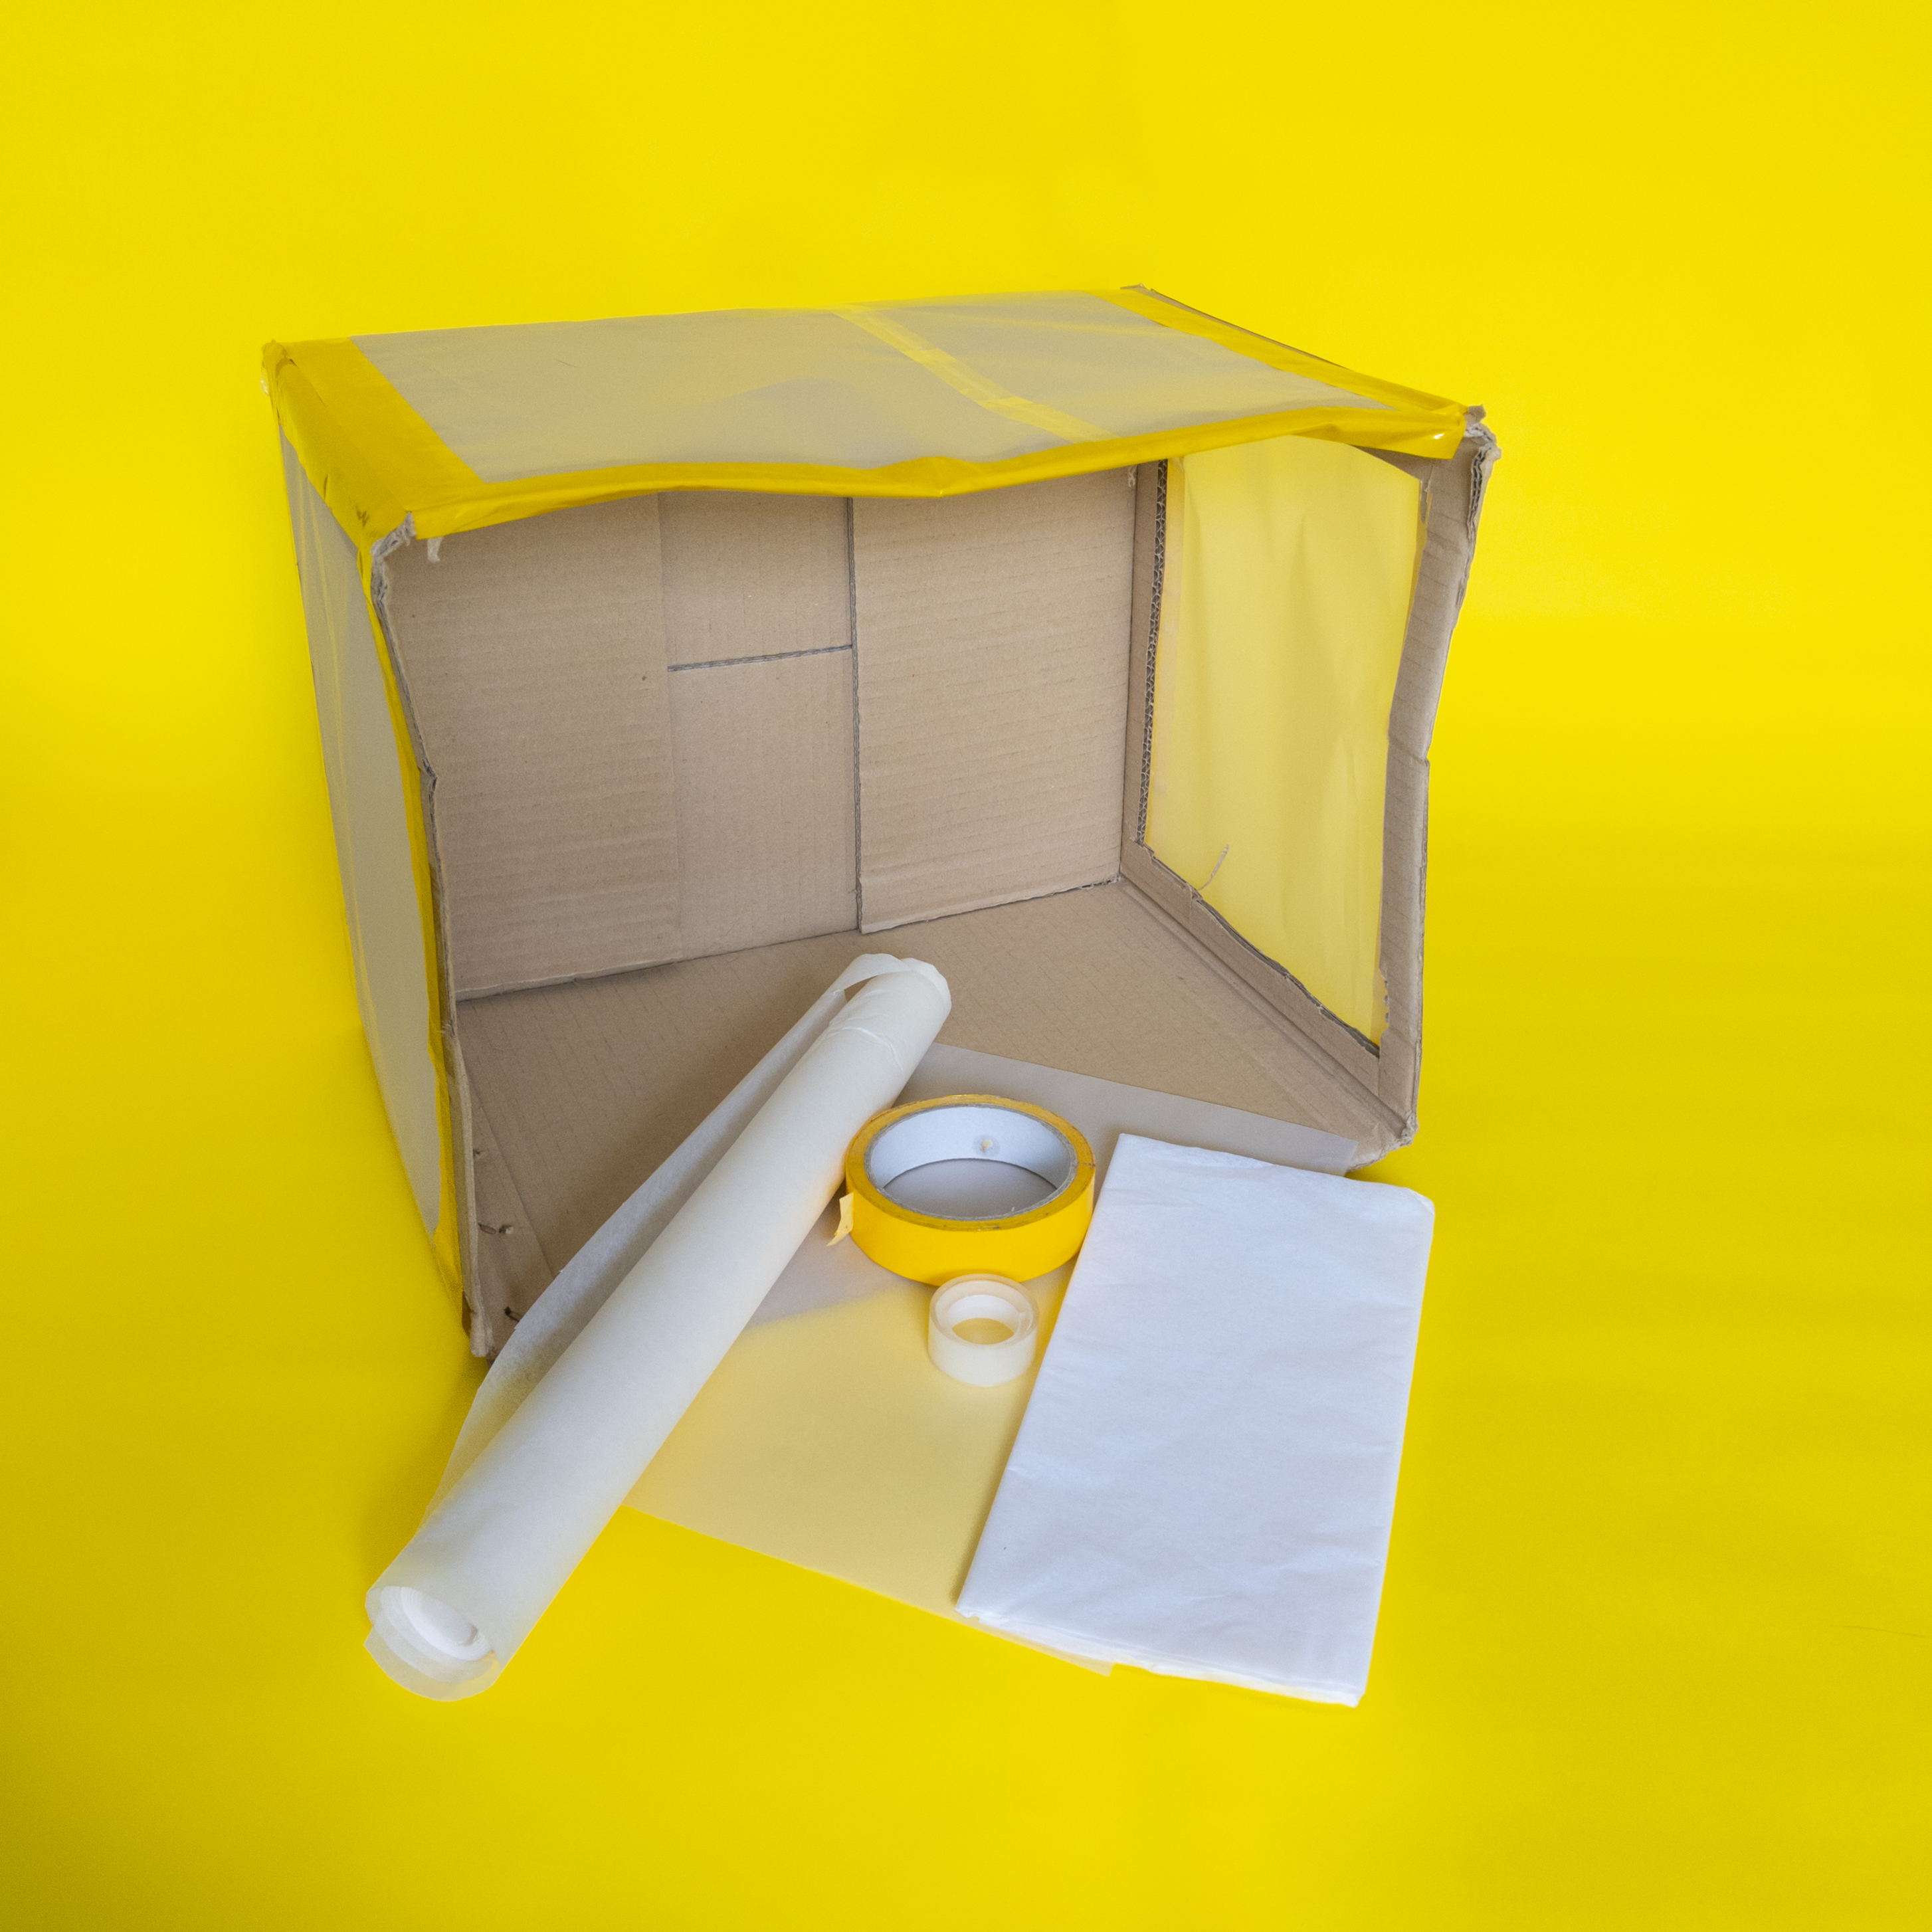
A cardboard box big enough for the things you want to photograph.
A compact and portable light box, home-made but professional! Great for playing around with still lives and creating soft, even light that you can control.
Resource by Elizabeth Doak.
A cardboard box big enough for the things you want to photograph.
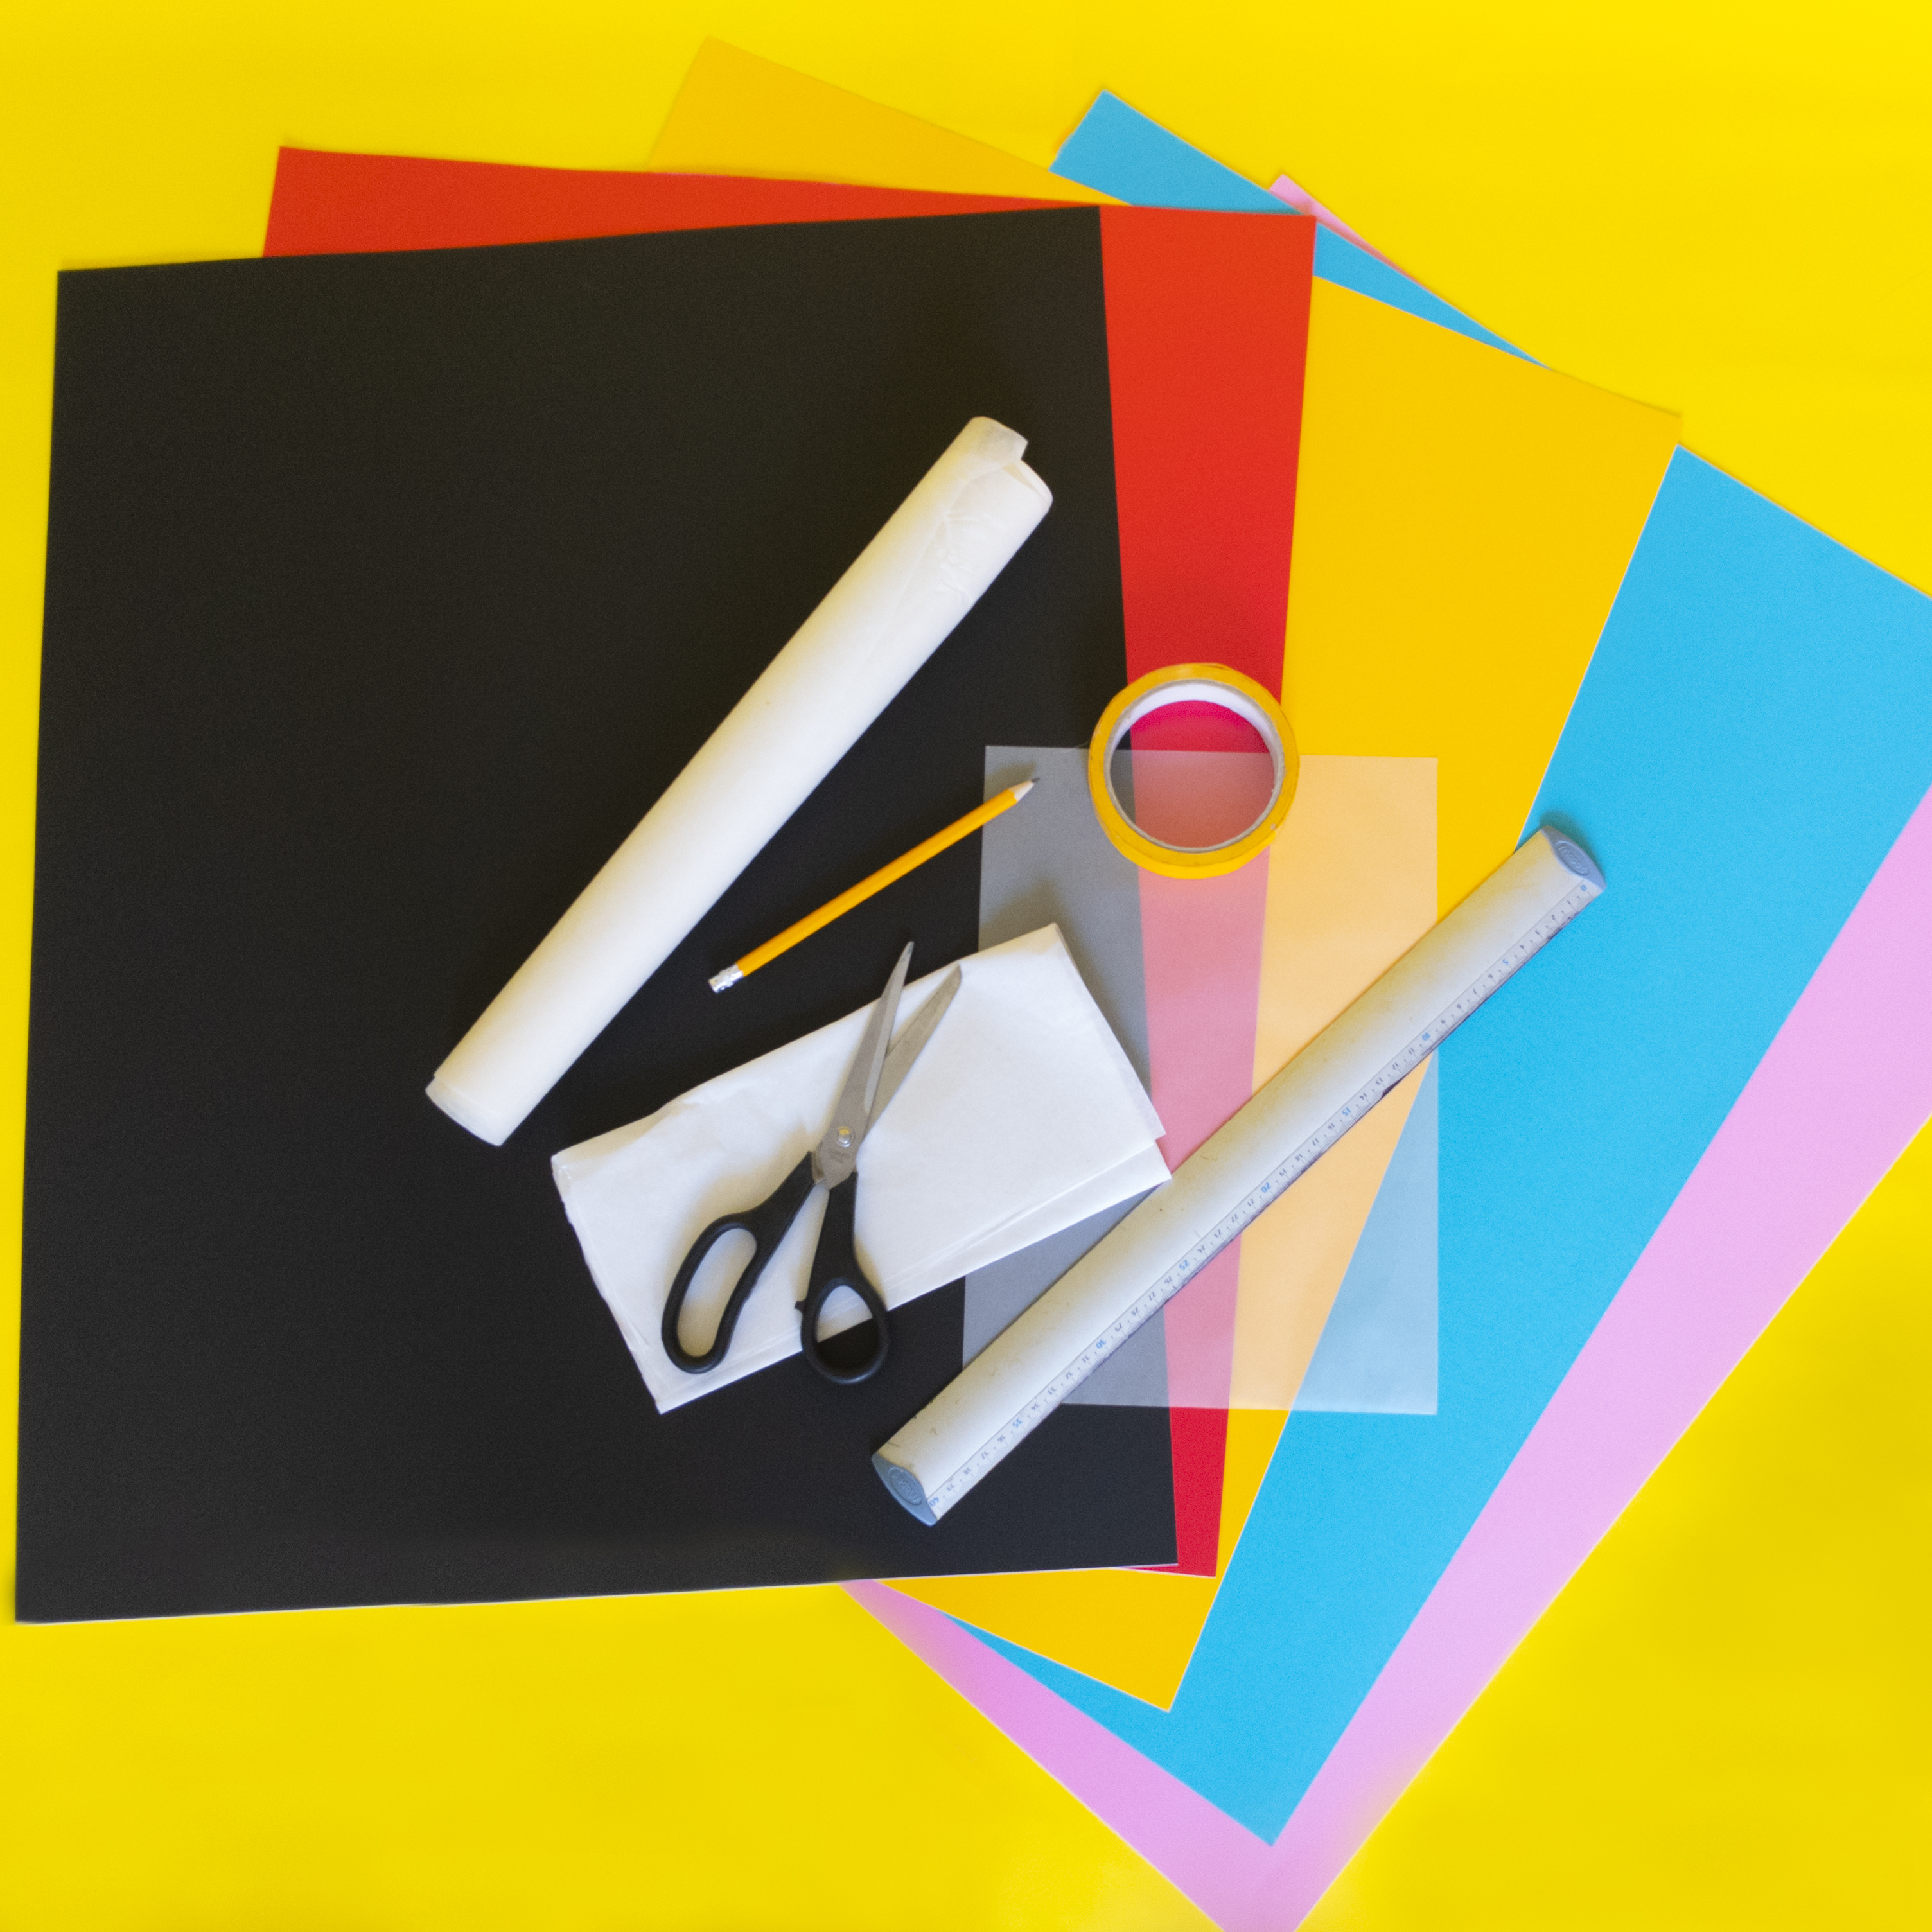
Ruler, pencil , scissors , tracing or tissue paper, tape, coloured thin card or paper to fit the box.
Cut off all the box flaps.
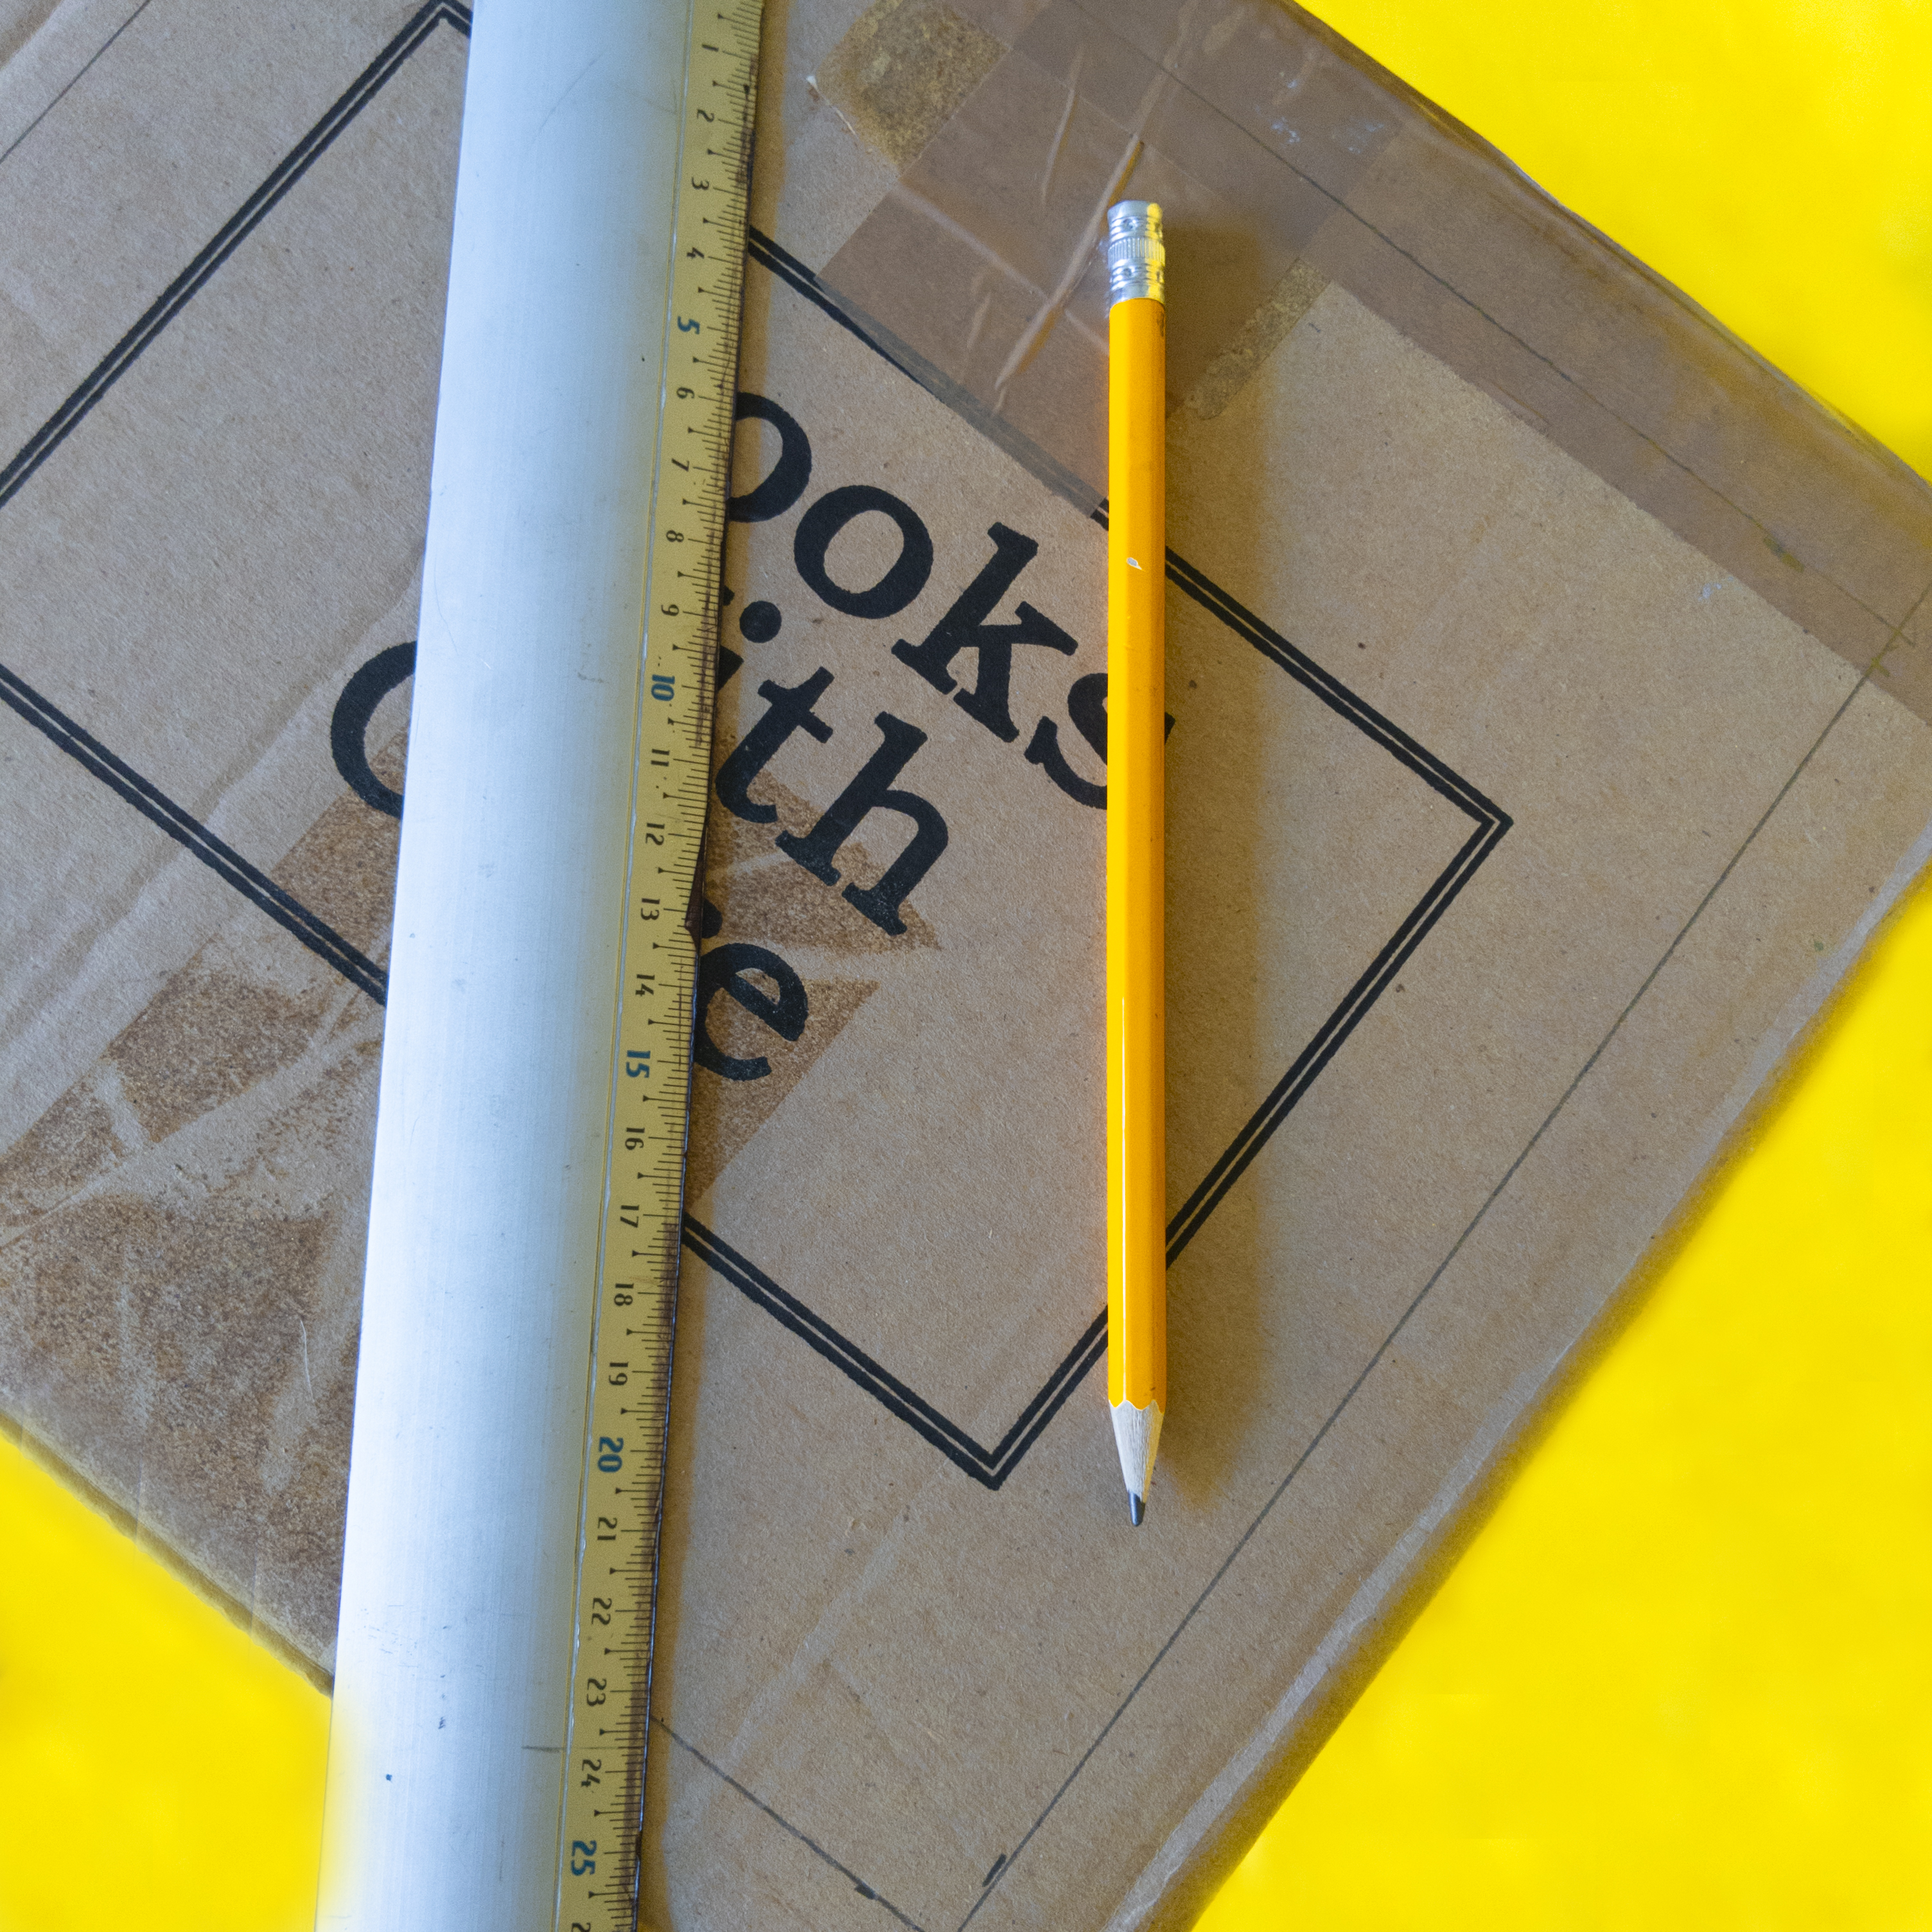
On the top and two sides of the box mark out a 2cm border.
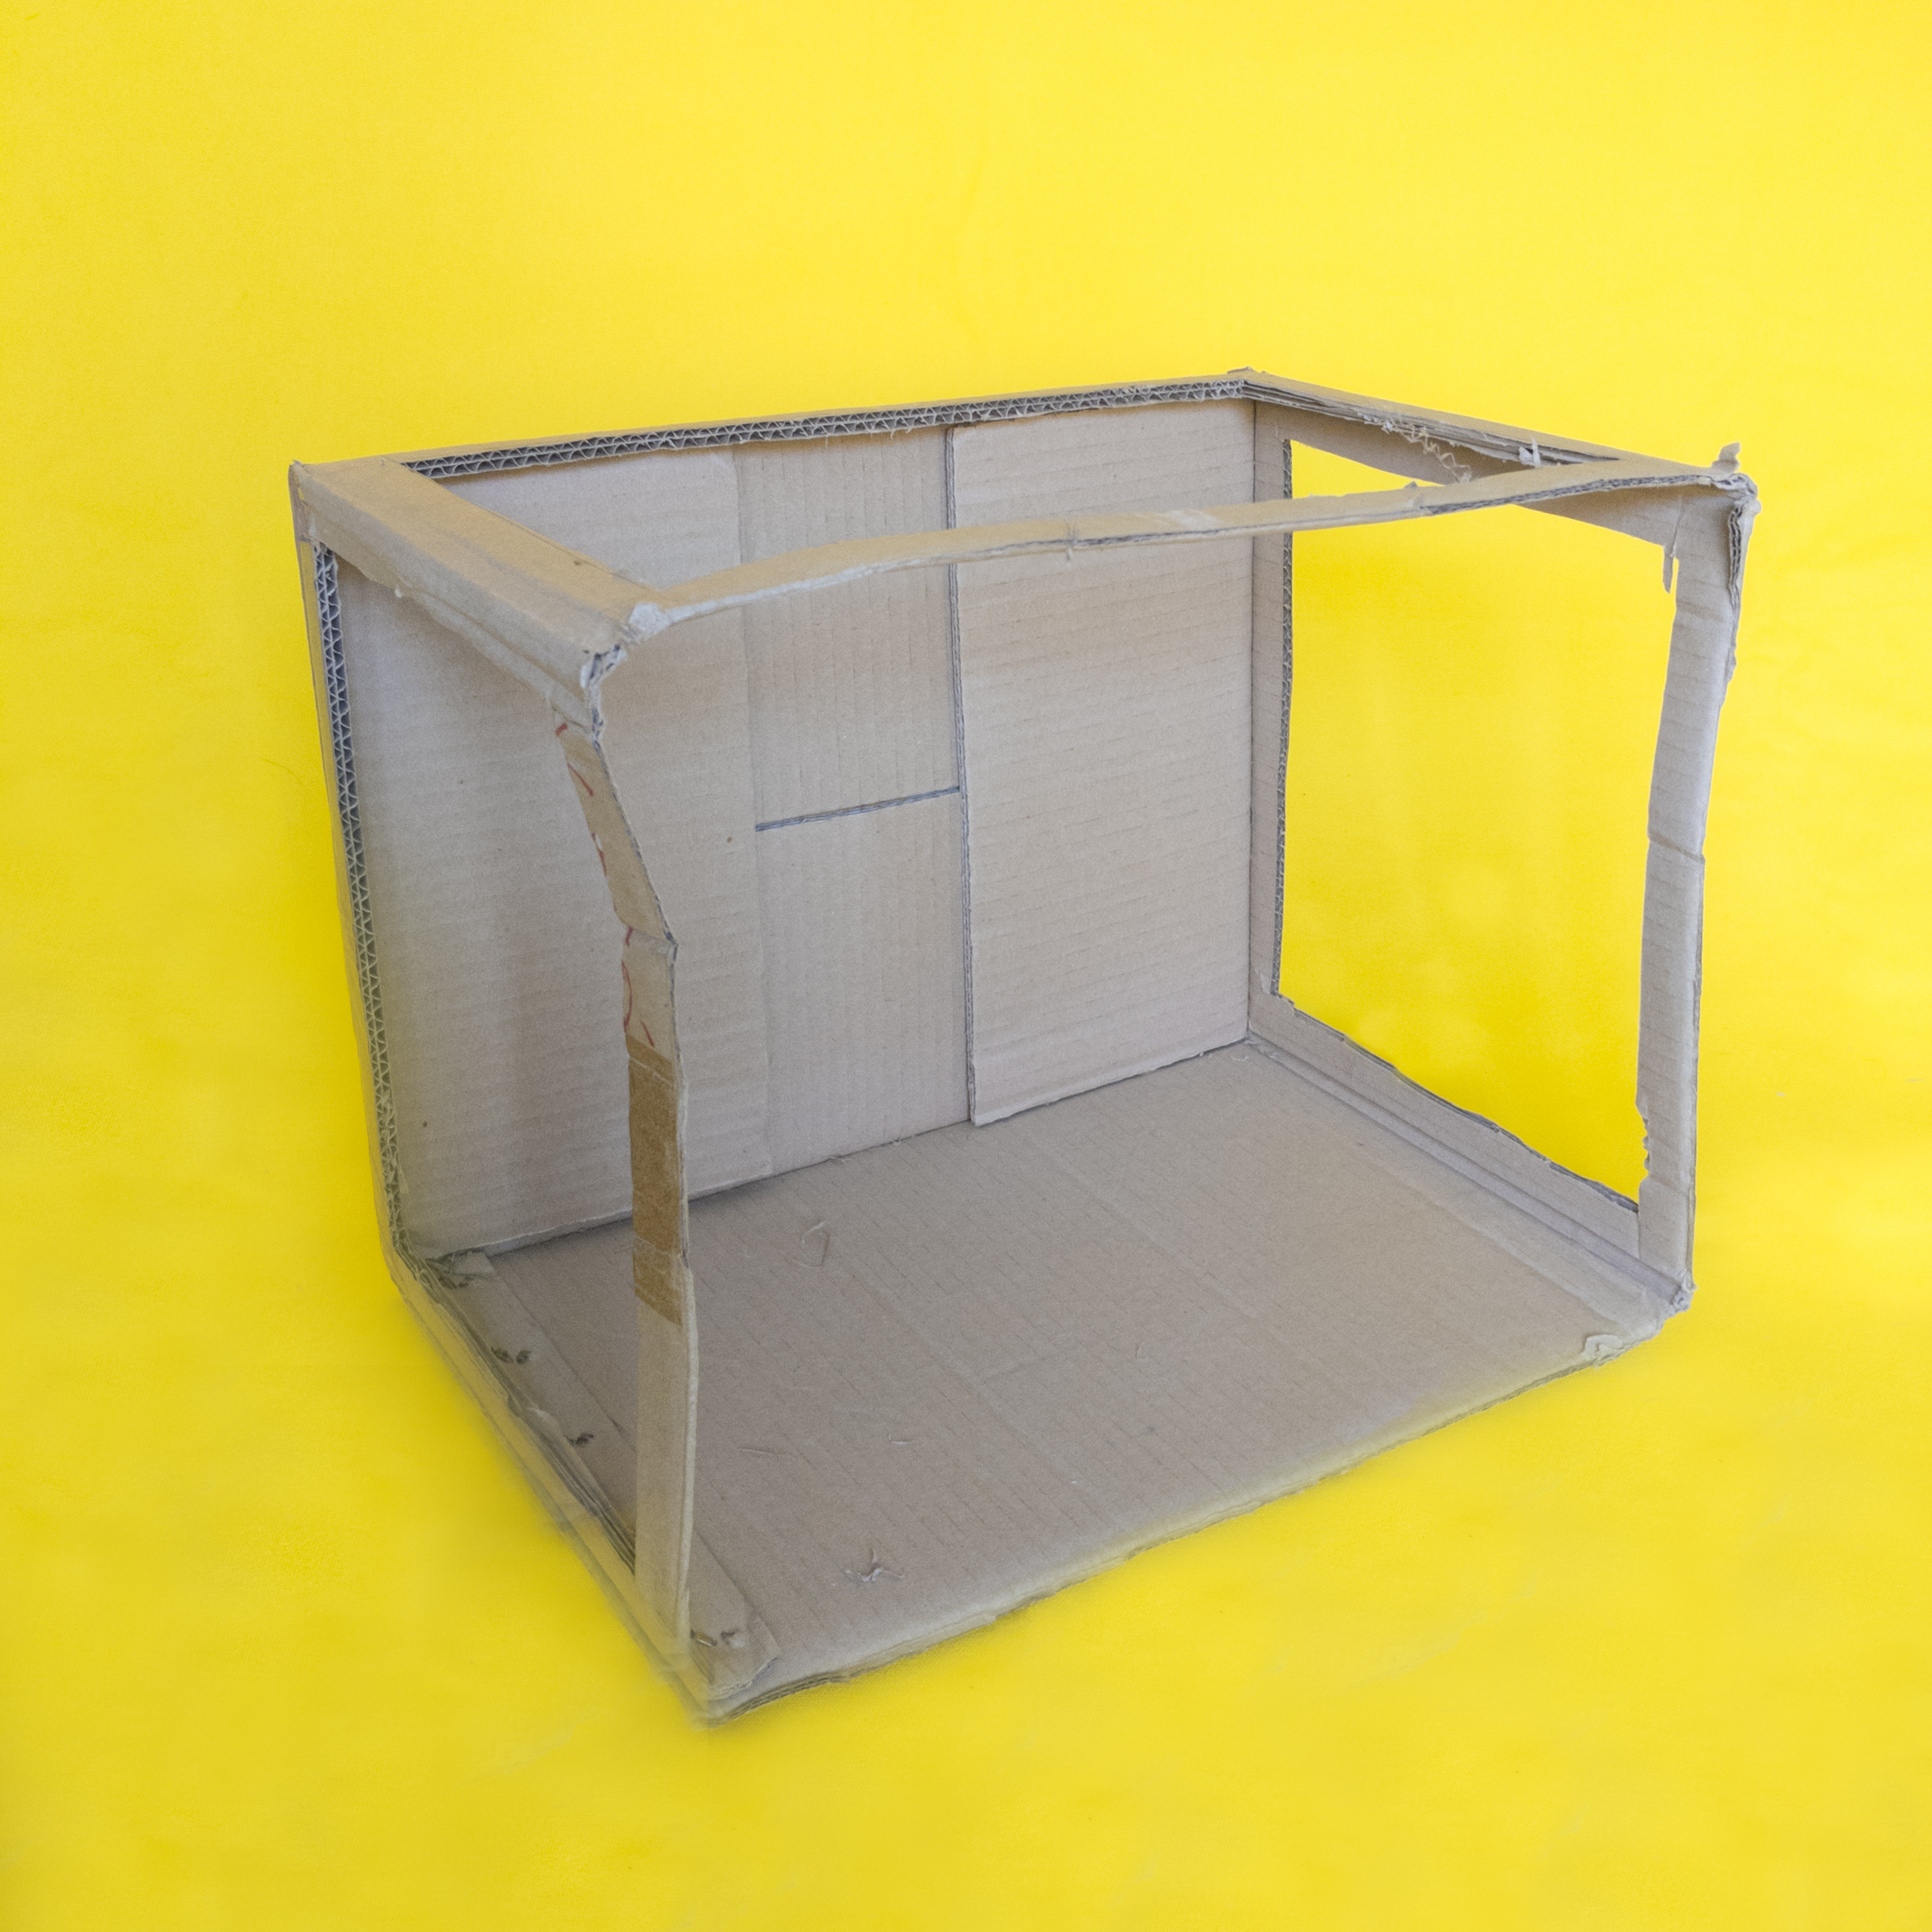
Cut out the ‘windows’ leaving the border edge intact.
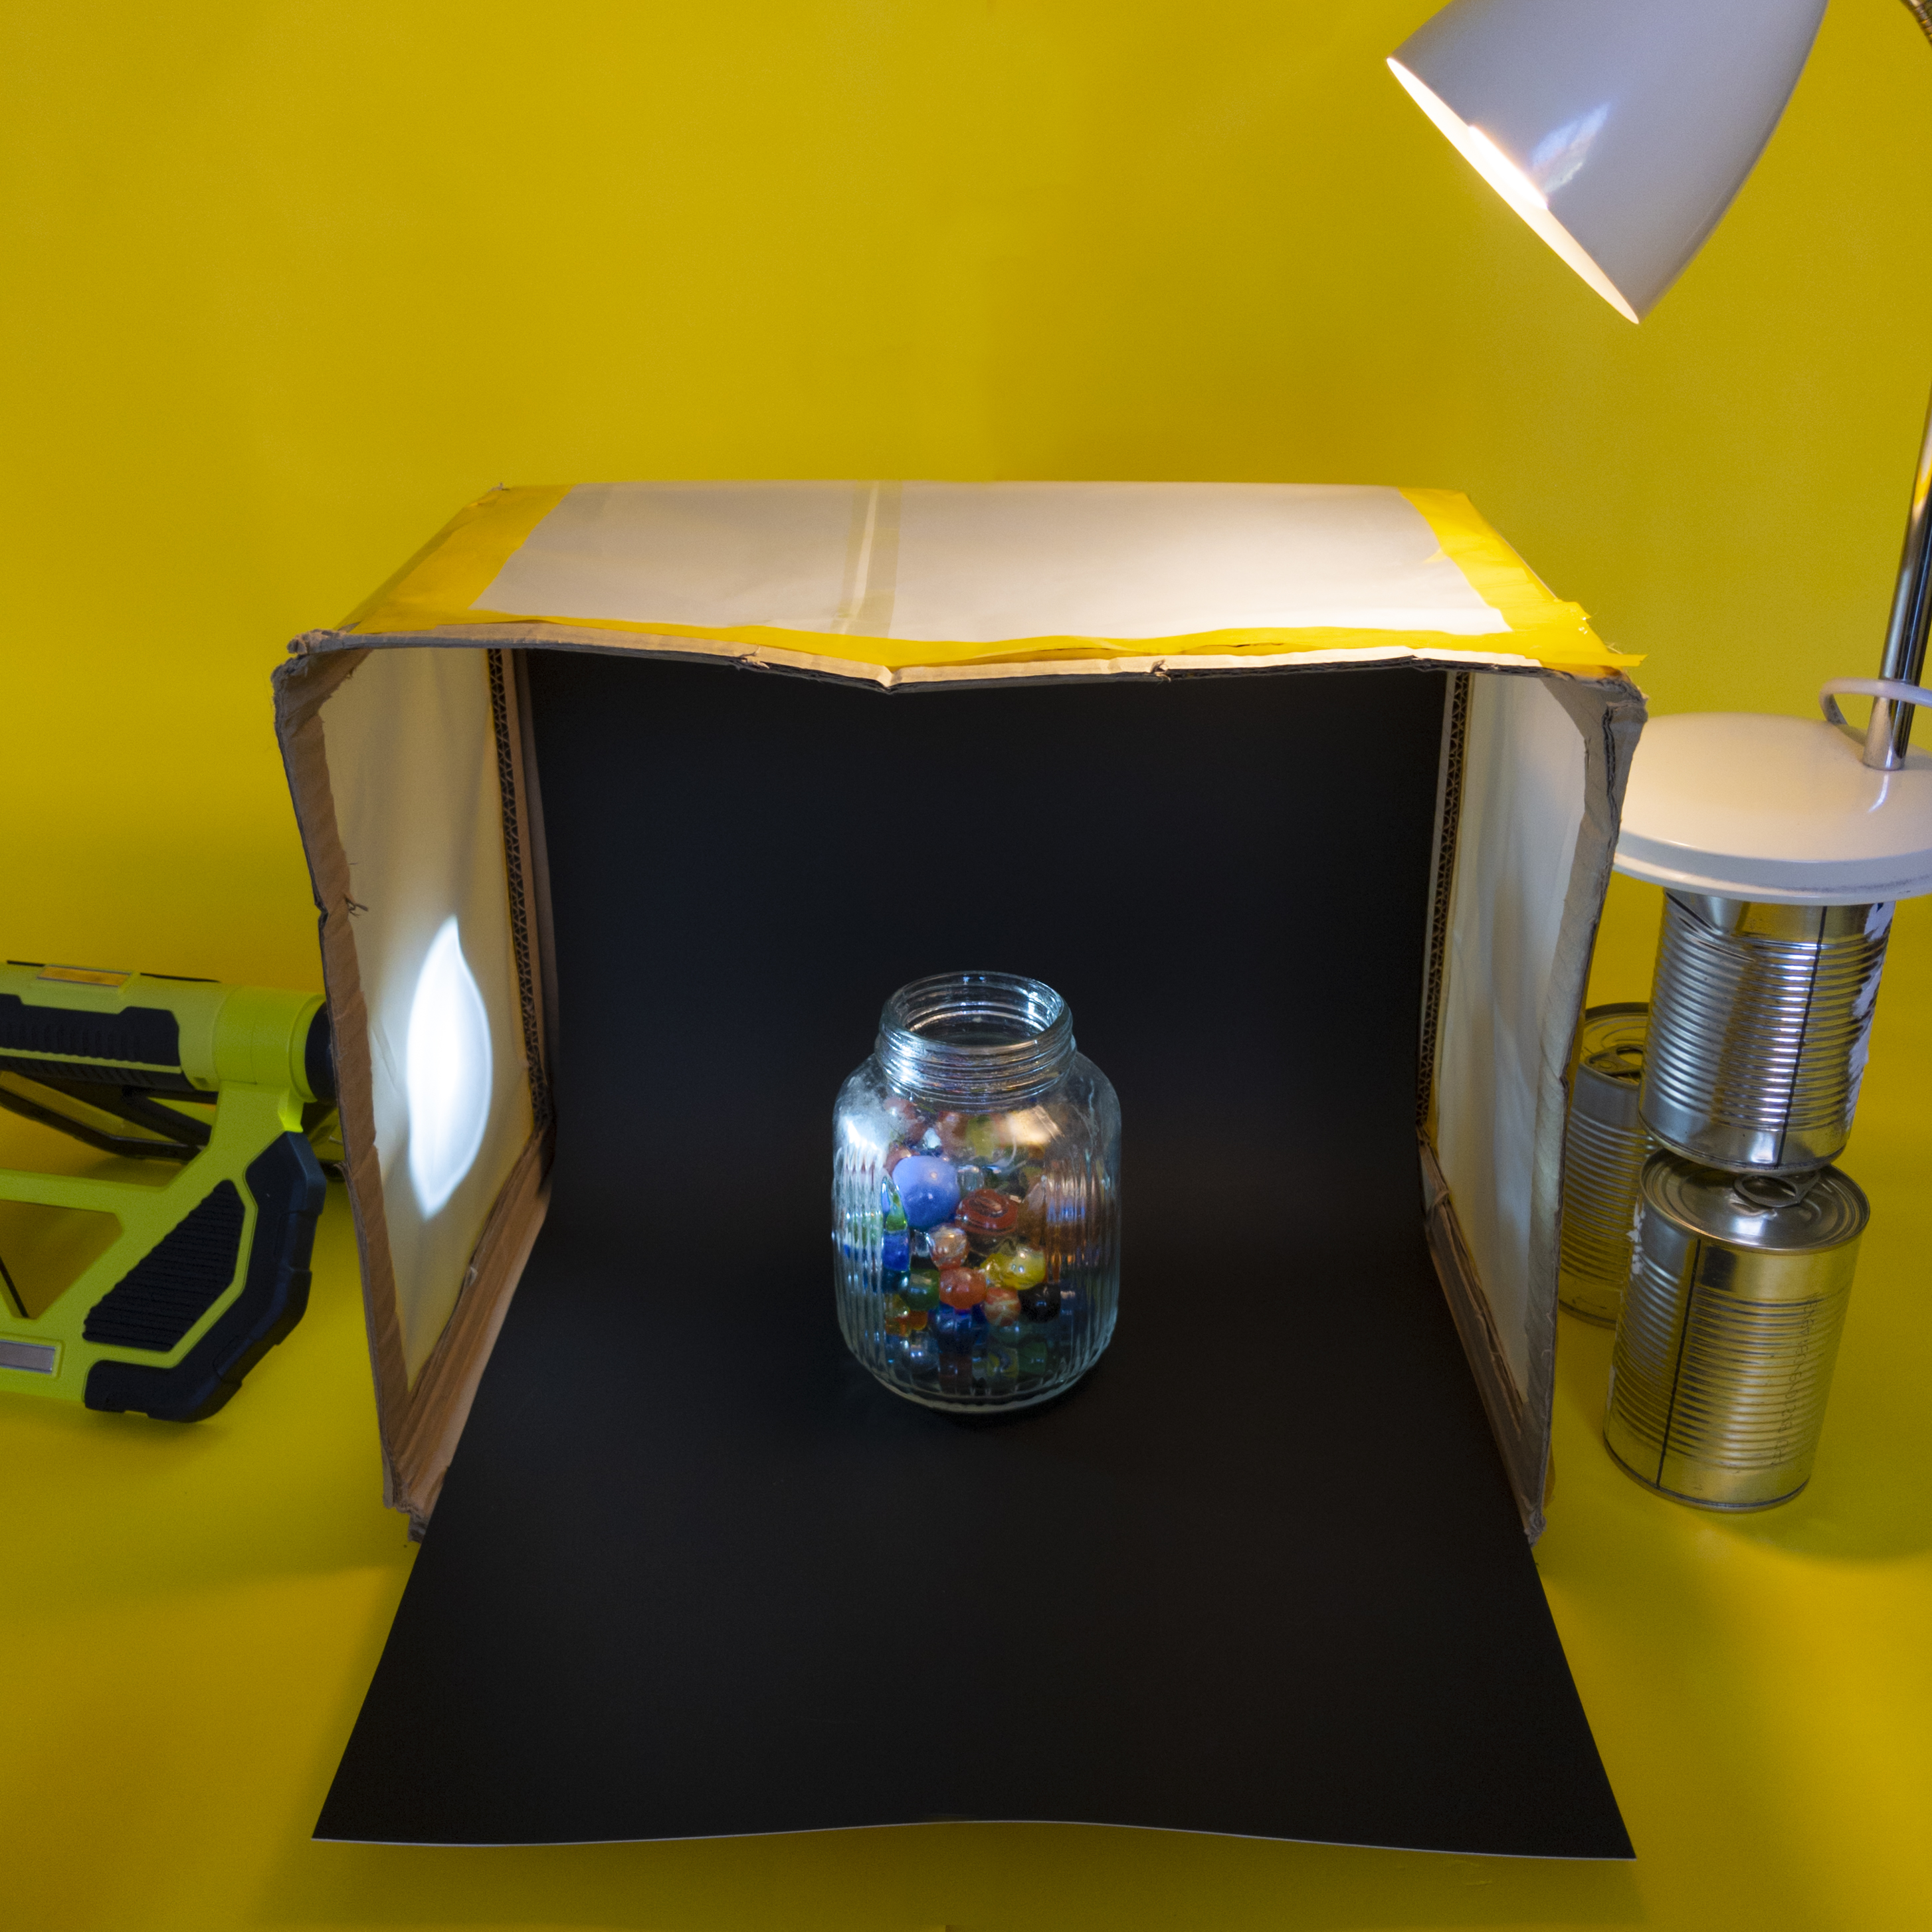
Attach tracing paper or any soft transparent paper such as tissue paper to the windows. This diffuses the light source that will light your object.
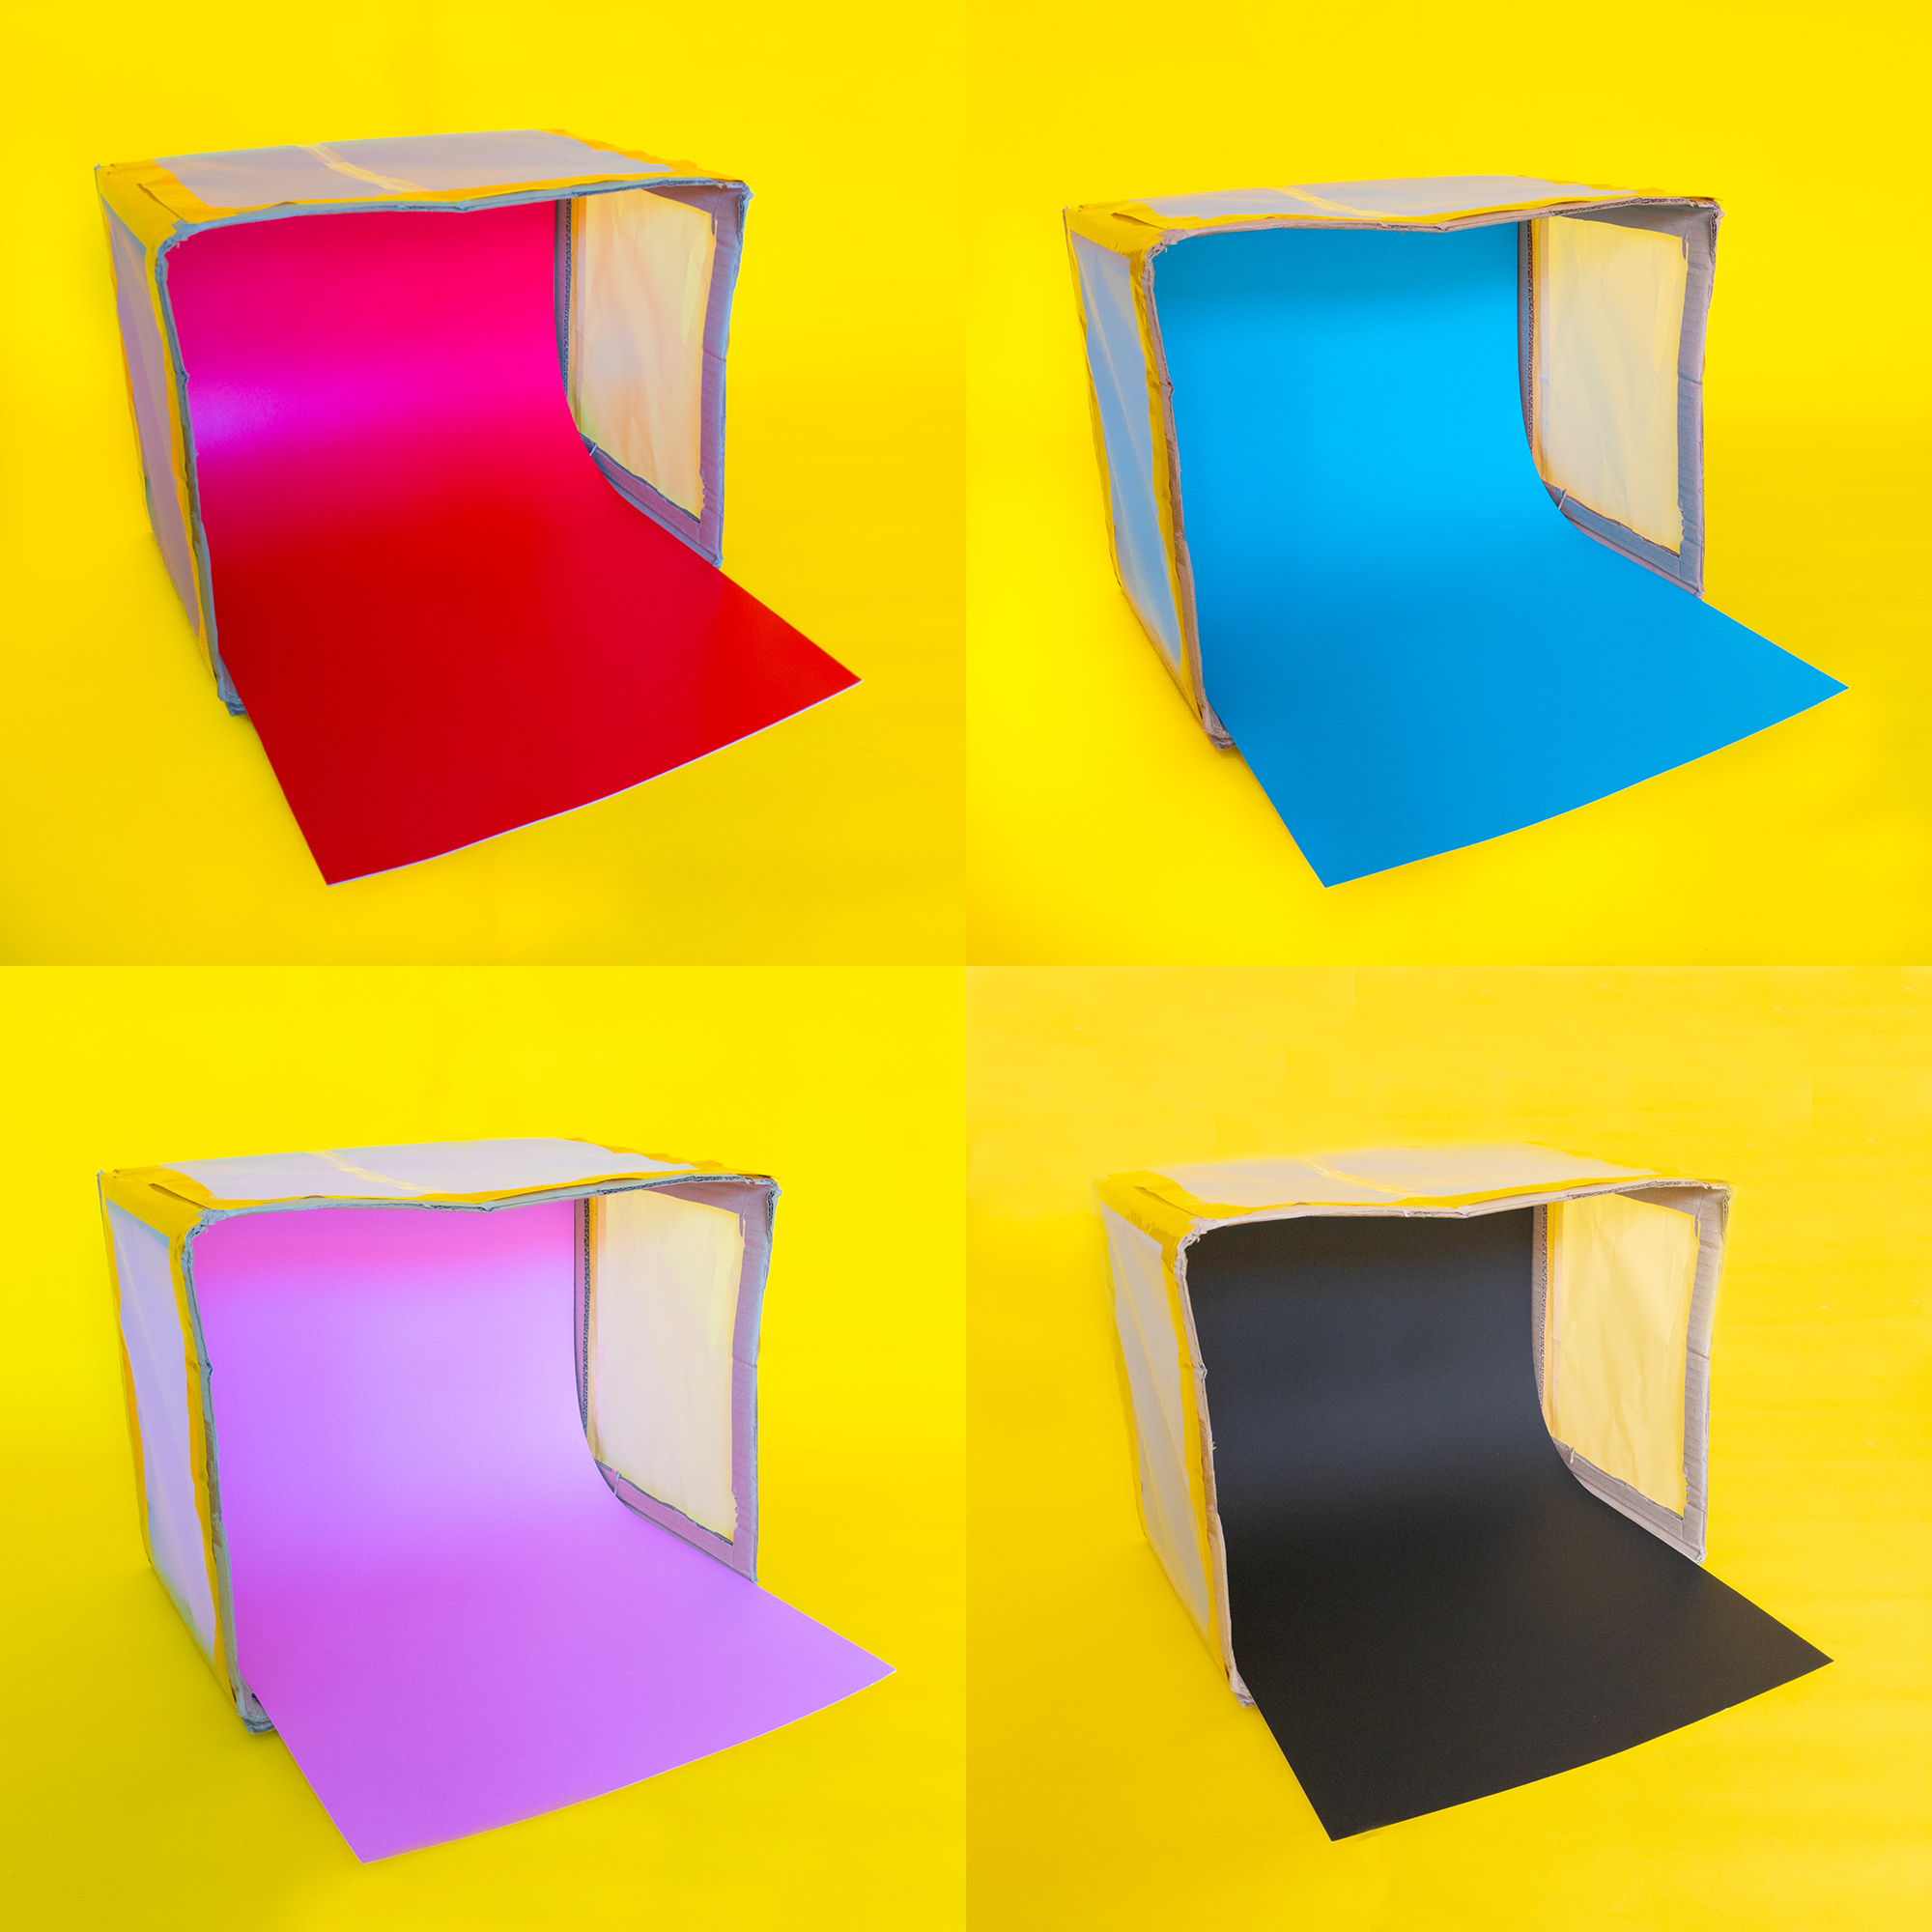
Using thin card or paper, create a background curve that fits into the top of the box and leads forward out of the bottom of the box. Make sure you leave a curve and not a harsh bend at the back – an ‘infinity curve’. This lets the object look like its floating. Any colour will look great.
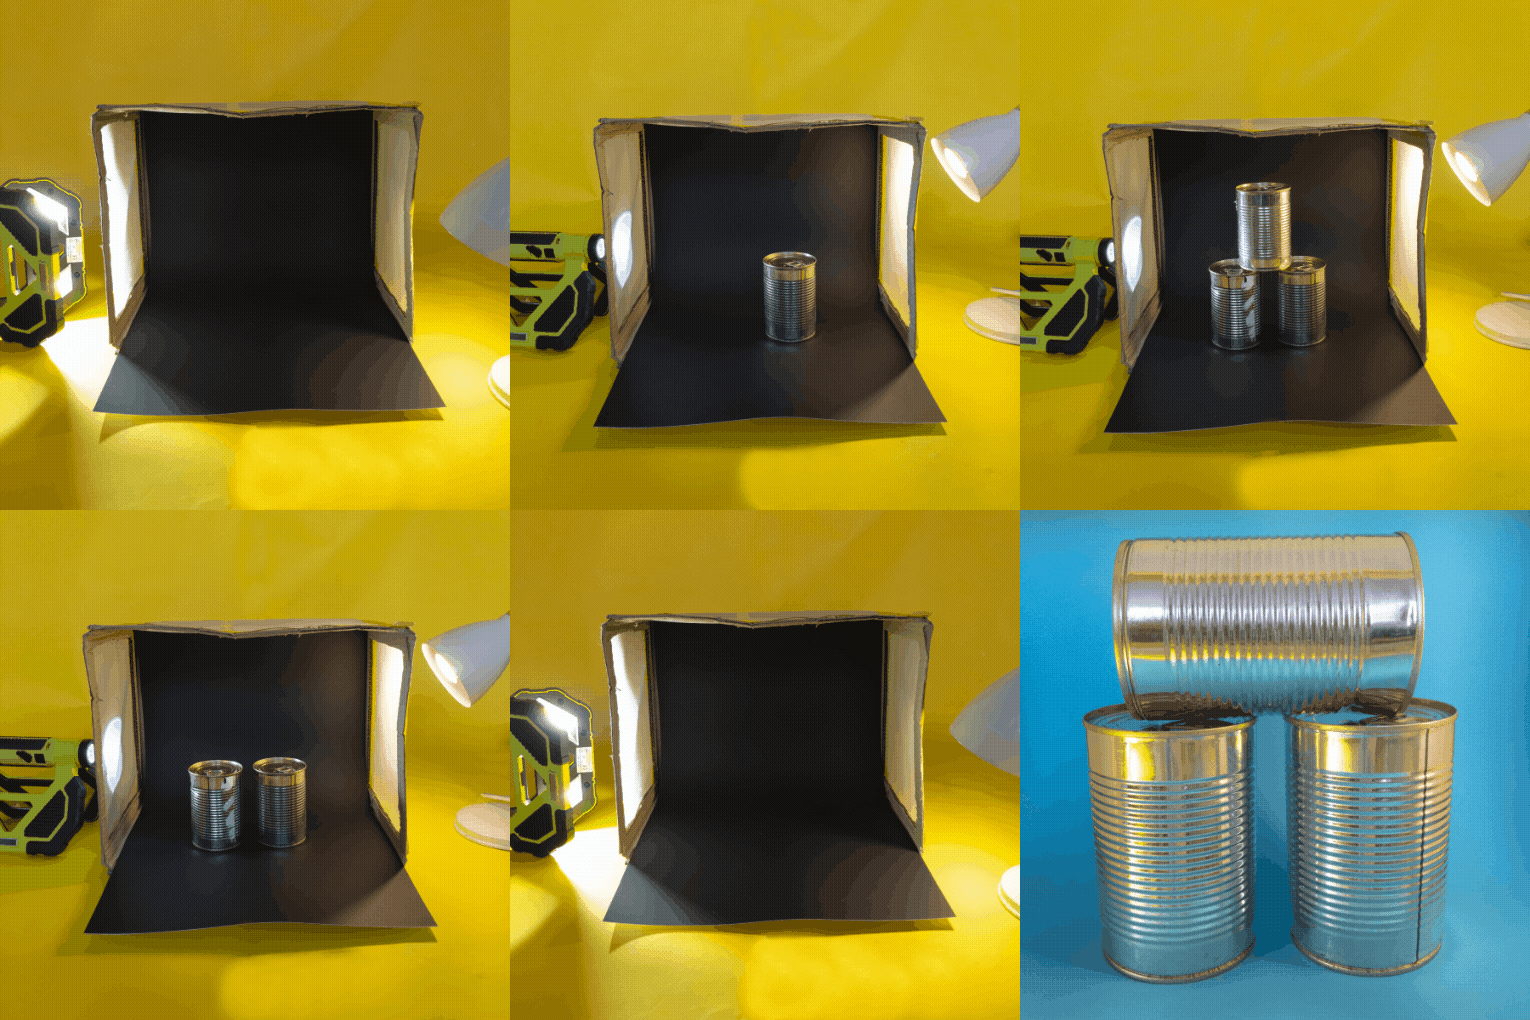
Using torches and lamps, experiment with lighting your object creatively. You can also take the box outside and use daylight which creates a very soft diffused light.
Use a camera or Smartphone to photograph your object making sure that you have your object and background in shot only. Not the edge of the box!
Share your photos with us! Send us your photos by email or DM us on instagram @photoworks_uk and add the hashtag #studiobox
